Let’s imagine you’ve just started your own B&B. You set up the guest bedroom and bathroom and you may think you're ready. Any person can technically knock on your door, request a bedroom for one night, you give them a price, they hand you the cash, you ask for their breakfast request, and you’re done. In theory, all that is possible and doable, but in practice…well, it’s not practical at all.
It’s 2022. We all know the best way to manage any kind of project or business is digitally.
The customers won’t find your B&B by happenstance. You need an online presence like a website or a Facebook page or other social media. Your potential guests will want to see pictures and reviews, prices, packages, and anything else you have to offer.
Turn customers’ reactions into actionable improvements.
Say you set up Facebook, Instagram, and Venmo for payments. However, you still need to manually deal with breakfast menus, requests, and allergy and dietary restrictions, while striving for good reviews and ratings. Sure, people can leave their comments on Facebook, but they’re not organized and quantifiable. You need a proper guest satisfaction survey to grow as a business and know which areas need improvement. This is where PAPRLSS comes in handy.
For only 4 USD a month, you can manage all the above issues and more in Paprlss. We’ll show you exactly how to manage your guests, reviews, breakfast menus, breakfast orders, rates, etc. Let’s start with a customer satisfaction survey.
Here’s a step-by-step tutorial on how to create a customer satisfaction survey and how to analyze the data.
Navigate to Manage Documents > Click to create a new Document

Select "Survey" for your document type > Toggle on/off the options listed
Tip: For this type of survey, people will be more comfortable to remain anonymous. Allowing only one response per user will ensure the results aren't skewed by spam.

Click on the top right icon to add fields to your survey

Select the type of field you'd like to add. > Click on it
Tip: You can repeat this any number of times and reorganize your fields and edit them anytime.

A box like the one below will pop-up. This is where you customize the field. The steps to set up a field are easy to follow.
Step 1. Start by writing what the field asks. This is your field label (i.e., Did you enjoy your stay?).

Step 2. Choose the field's width percentage (that it takes on the page) and select a field icon.
Tip: No icon is also an option.

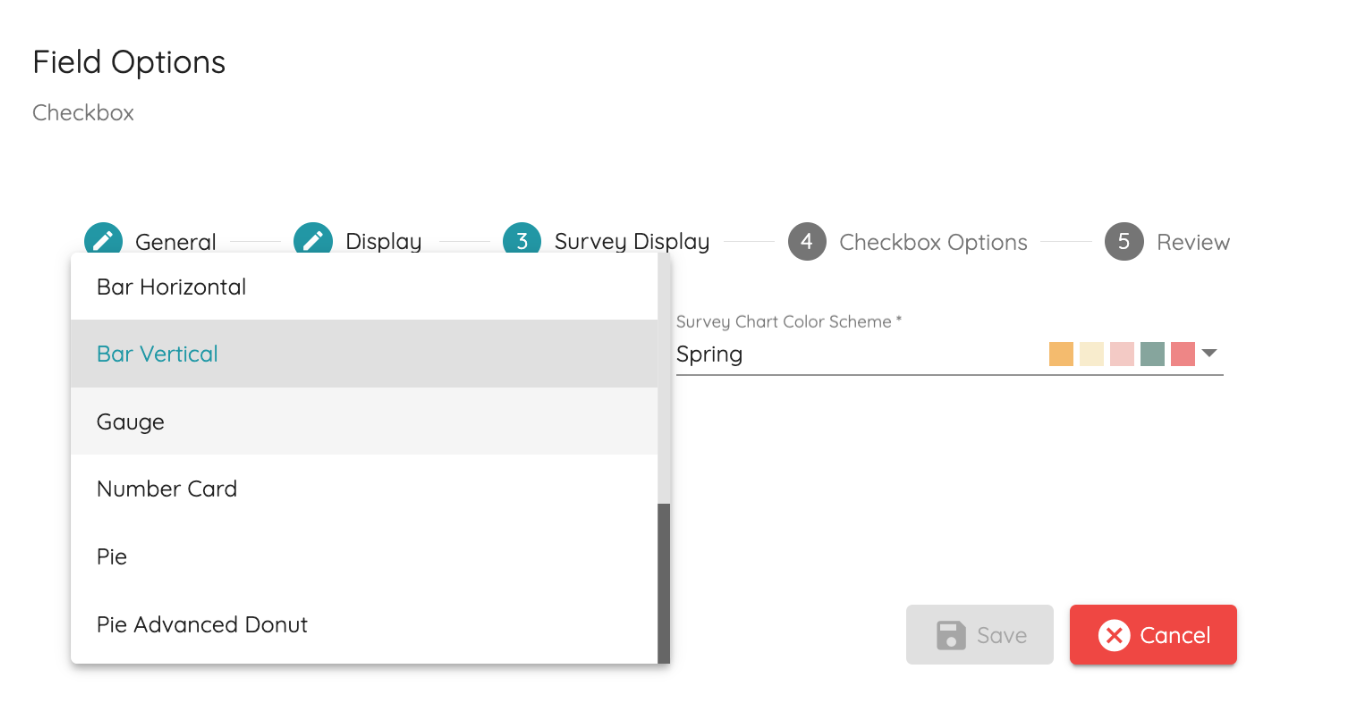
Step 3. Survey Display.
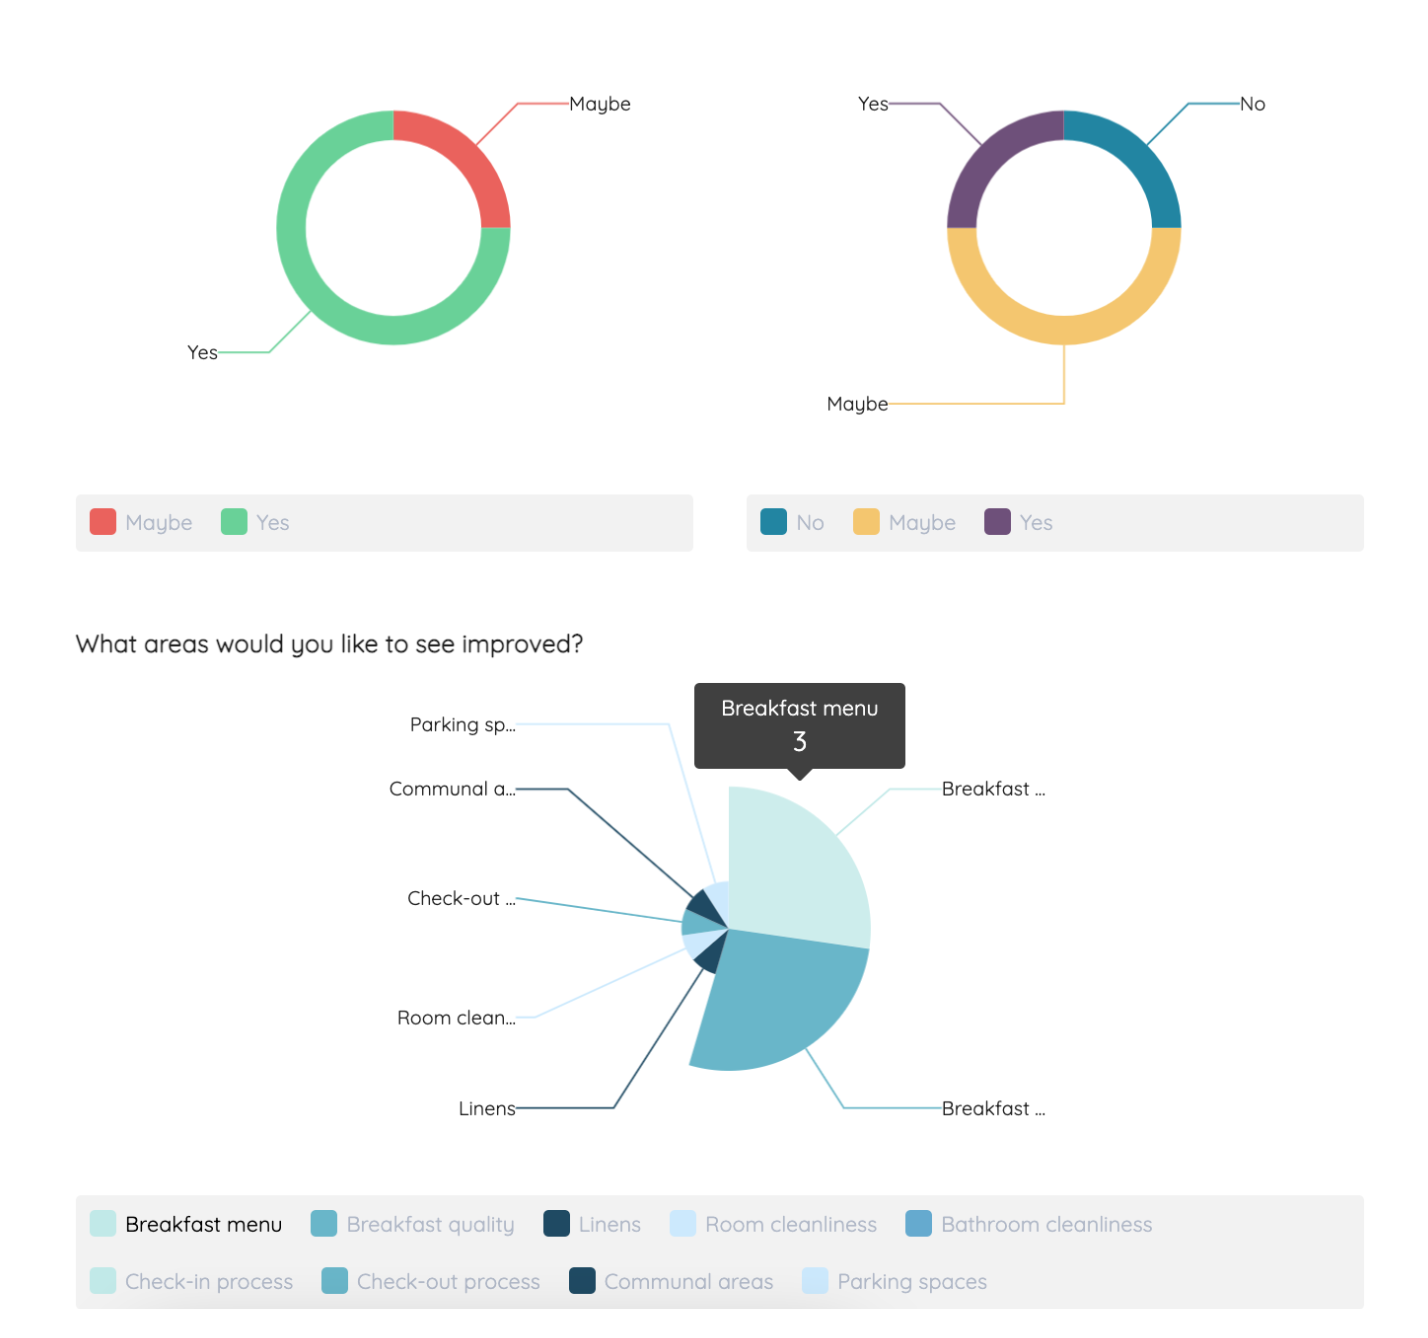
Choose what type of graph or chart you want to view the compiled results. Then choose the color palette for this graph.
Step 4. This is the step where you type in the answer options for fields like drop-down menus (select lists), checkboxes, and radio buttons. You can view your list of options as it will be displayed for the user.
Tip: Depending on your field width and the number of options you add, you may want to switch between a horizontal or a vertical display. Select Row or Column for this.

Step 5. Review.
You're done! This is where you can view the options you set for your field.
Click "Save" and repeat with as many fields as you need!

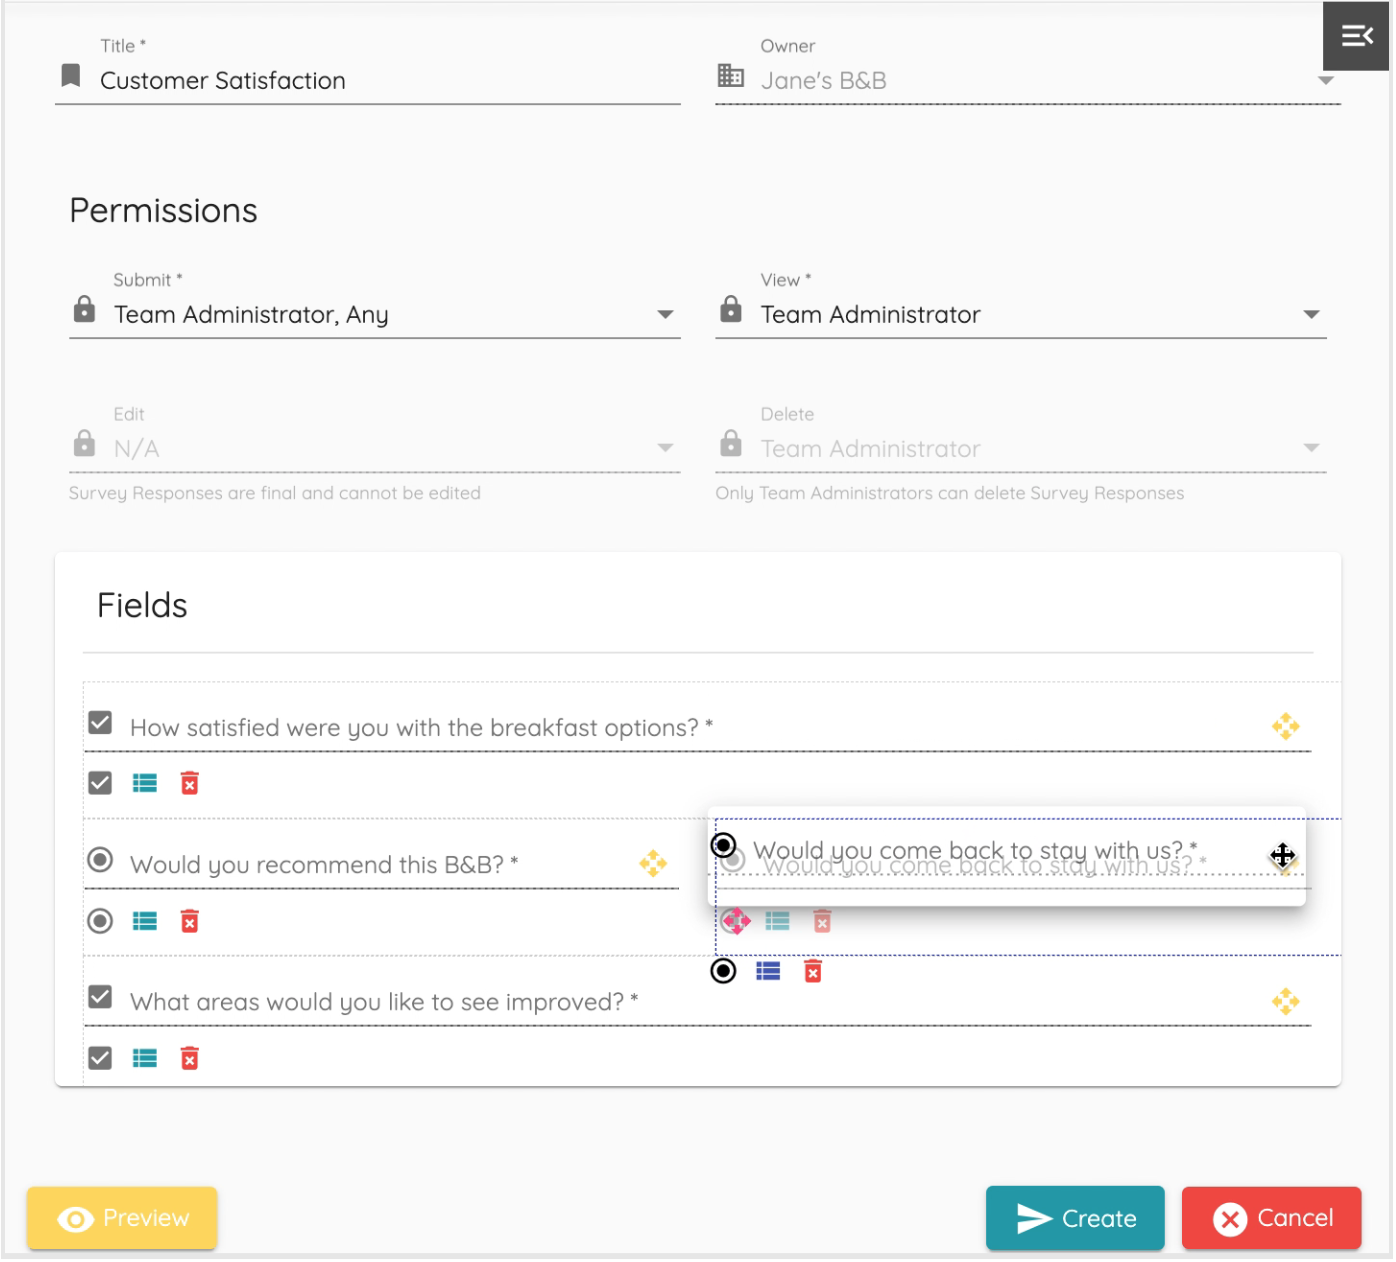
Once you finish adding the survey fields, you can organize them in any order you want!
Drag and drop the fields in your form and they will snap into place.
Finishing details
On the bottom left, you'll see a "Preview" button. Click it to preview the survey exactly as the user will see it.
Tip: Use the Preview to find the best width and order distribution of your fields.

Save your work and your survey is ready!
Now that creating a customer satisfaction survey is completed, you can start analyzing data.
Navigate to Surveys > View > Select your Customer Satisfaction Survey
There they are! The graphs you selected for each question with the responses collected so far.
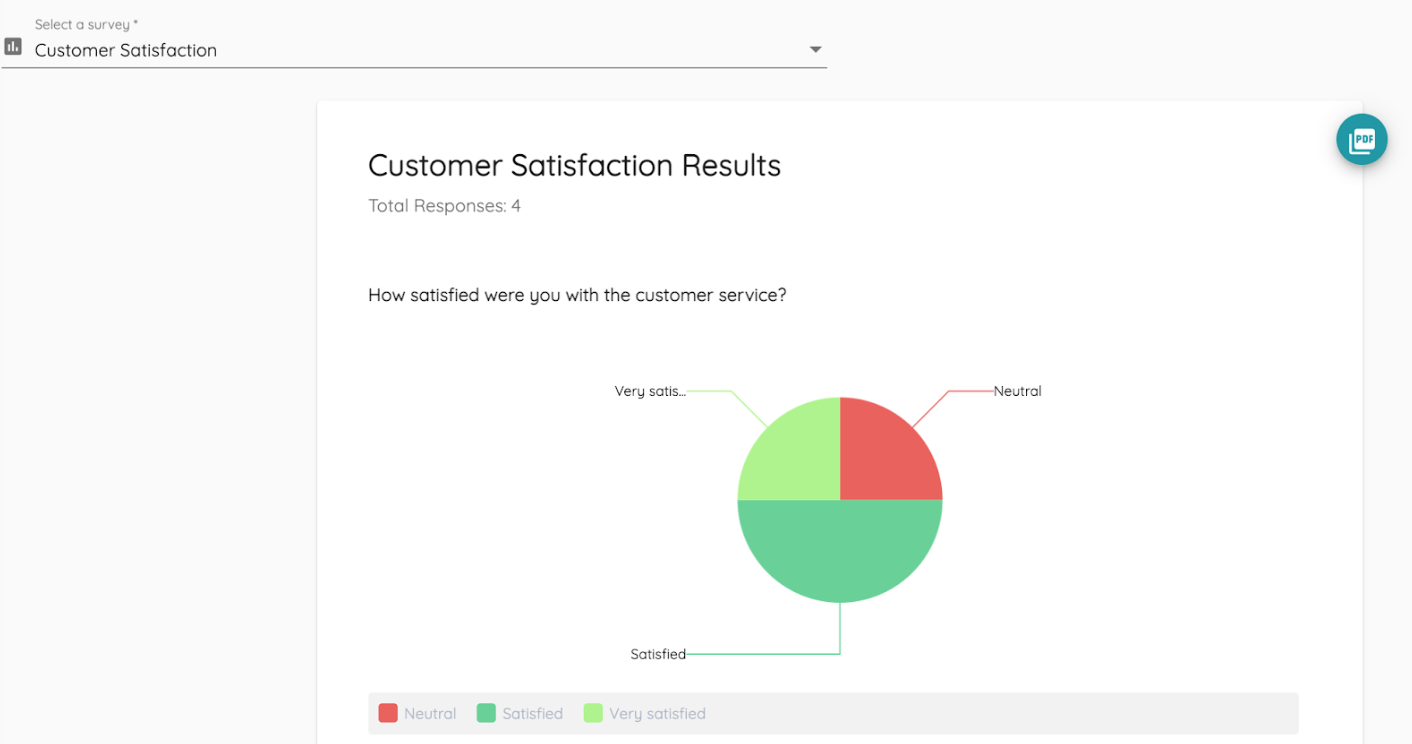
Tip: Remember, you can go back to Manage Documents to change any of the graphs you selected for each question if you want to visualize your data differently.