In this tutorial we will show you, step-by-step, how to easily create an effective Lead Capture form to collect contact data. This type of form can be indispensable when it comes finding and collecting potential customer information for your business, whether small or large.
To get started, navigate to Manage Documents.
On the top left corner, next to your user name, click on the "+" icon to "Create a new Document Type".
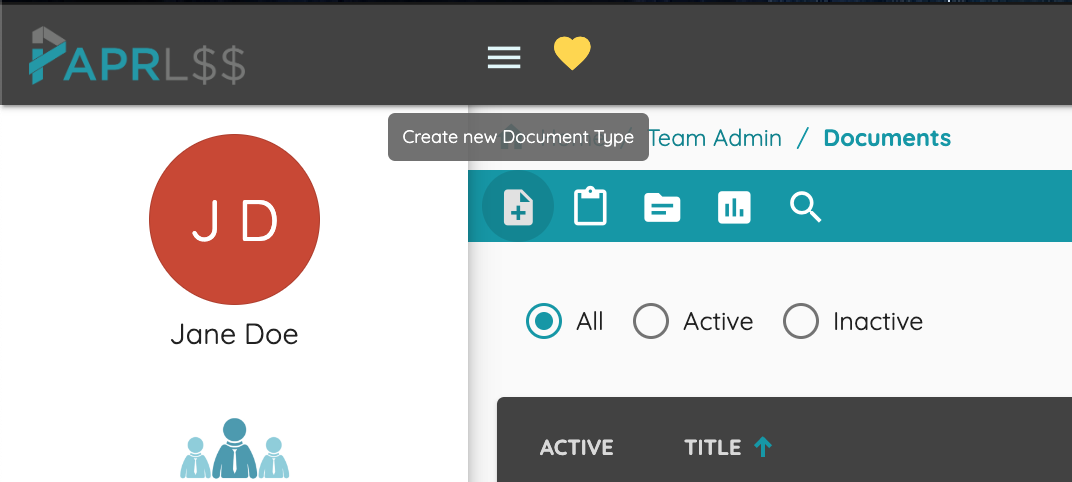
This opens up the page to create your Lead Capture form.
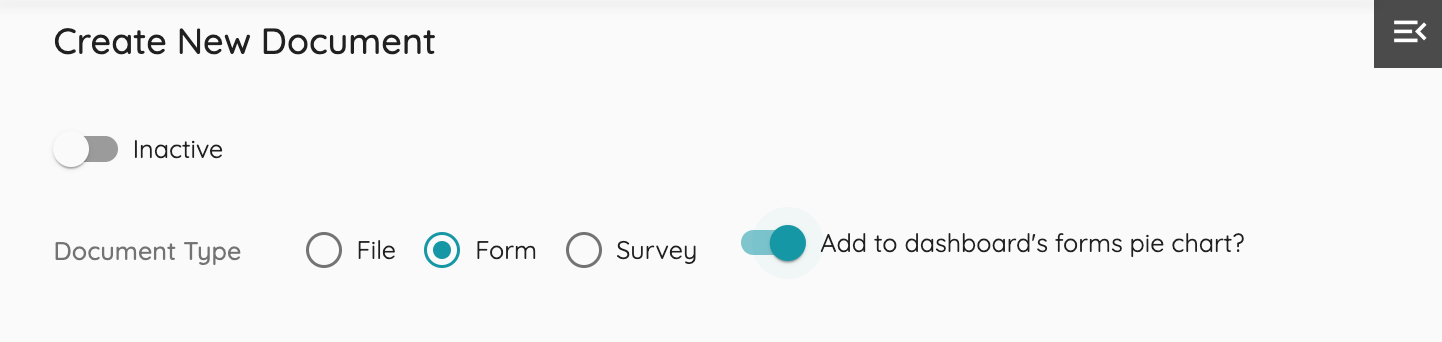
For the kind of document we're working on this time, the appropriate type to select is "Form".
Toggle "Add to dashboard's forms pie chart" if you want to track this form's submissions!
Fill out the title field, which in this case you can type in "Leads" and notice "Permissions" is the next section to fill-out.
Here you can hand-pick which members of your team are allowed to submit, view, edit and discard a form.
Tip: By default, Team Administrator is granted access for all of them, that means you already have permission to interact with these forms!
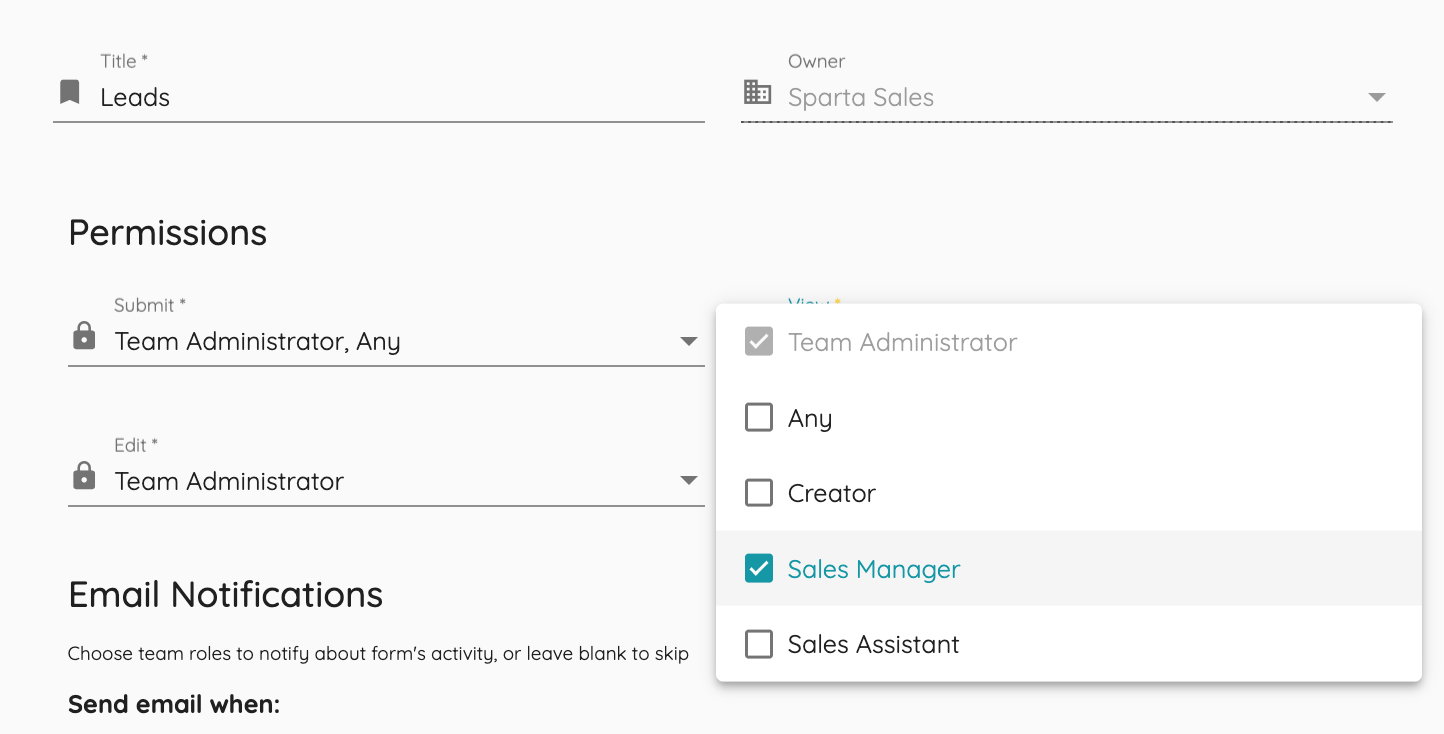
As an example, here we selected "Any" for creation access and "Sales Manager" for viewing and deletion access; tailor these permissions to fit your team's needs.
Tip: The "Creator" option under View, Edit, and Delete permissions refers to the user who submitted this particular form. As Team Admin you can restrict or grant the creator access to edit their submission.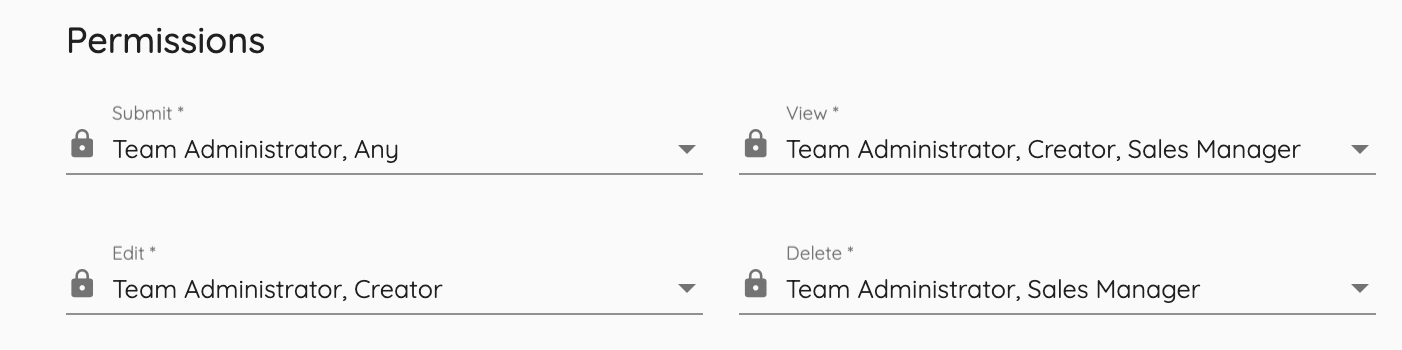
The next section is "Email Notifications" and it's exactly what it sounds like.
If you want to be notified and receive an email each time a form is created, edited or discarded, simply toggle the option on and select single or multiple recipients for this email according to your needs.
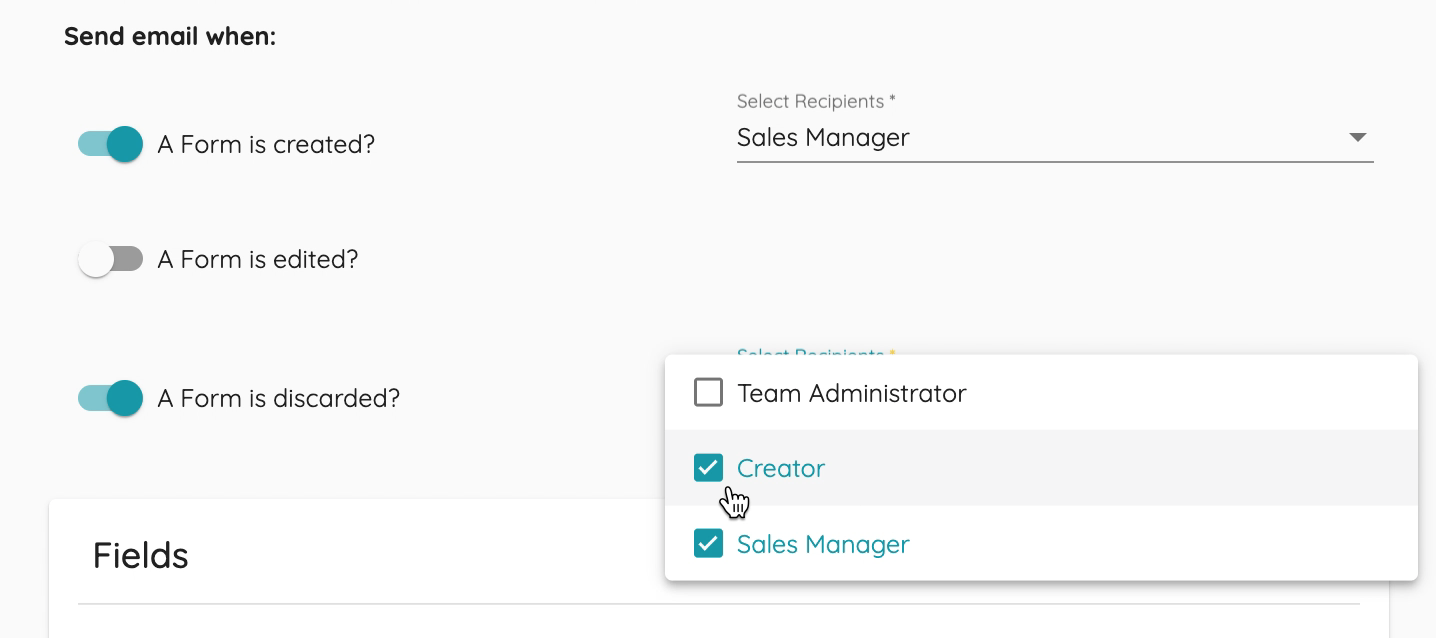
In this case, we opted to turn on email notifications for the Sales Manager when a form is submitted or discarded. Additionally, the creator of the form will be notified when an entry they submitted is discarded.
Now we can get started adding fields to our document!
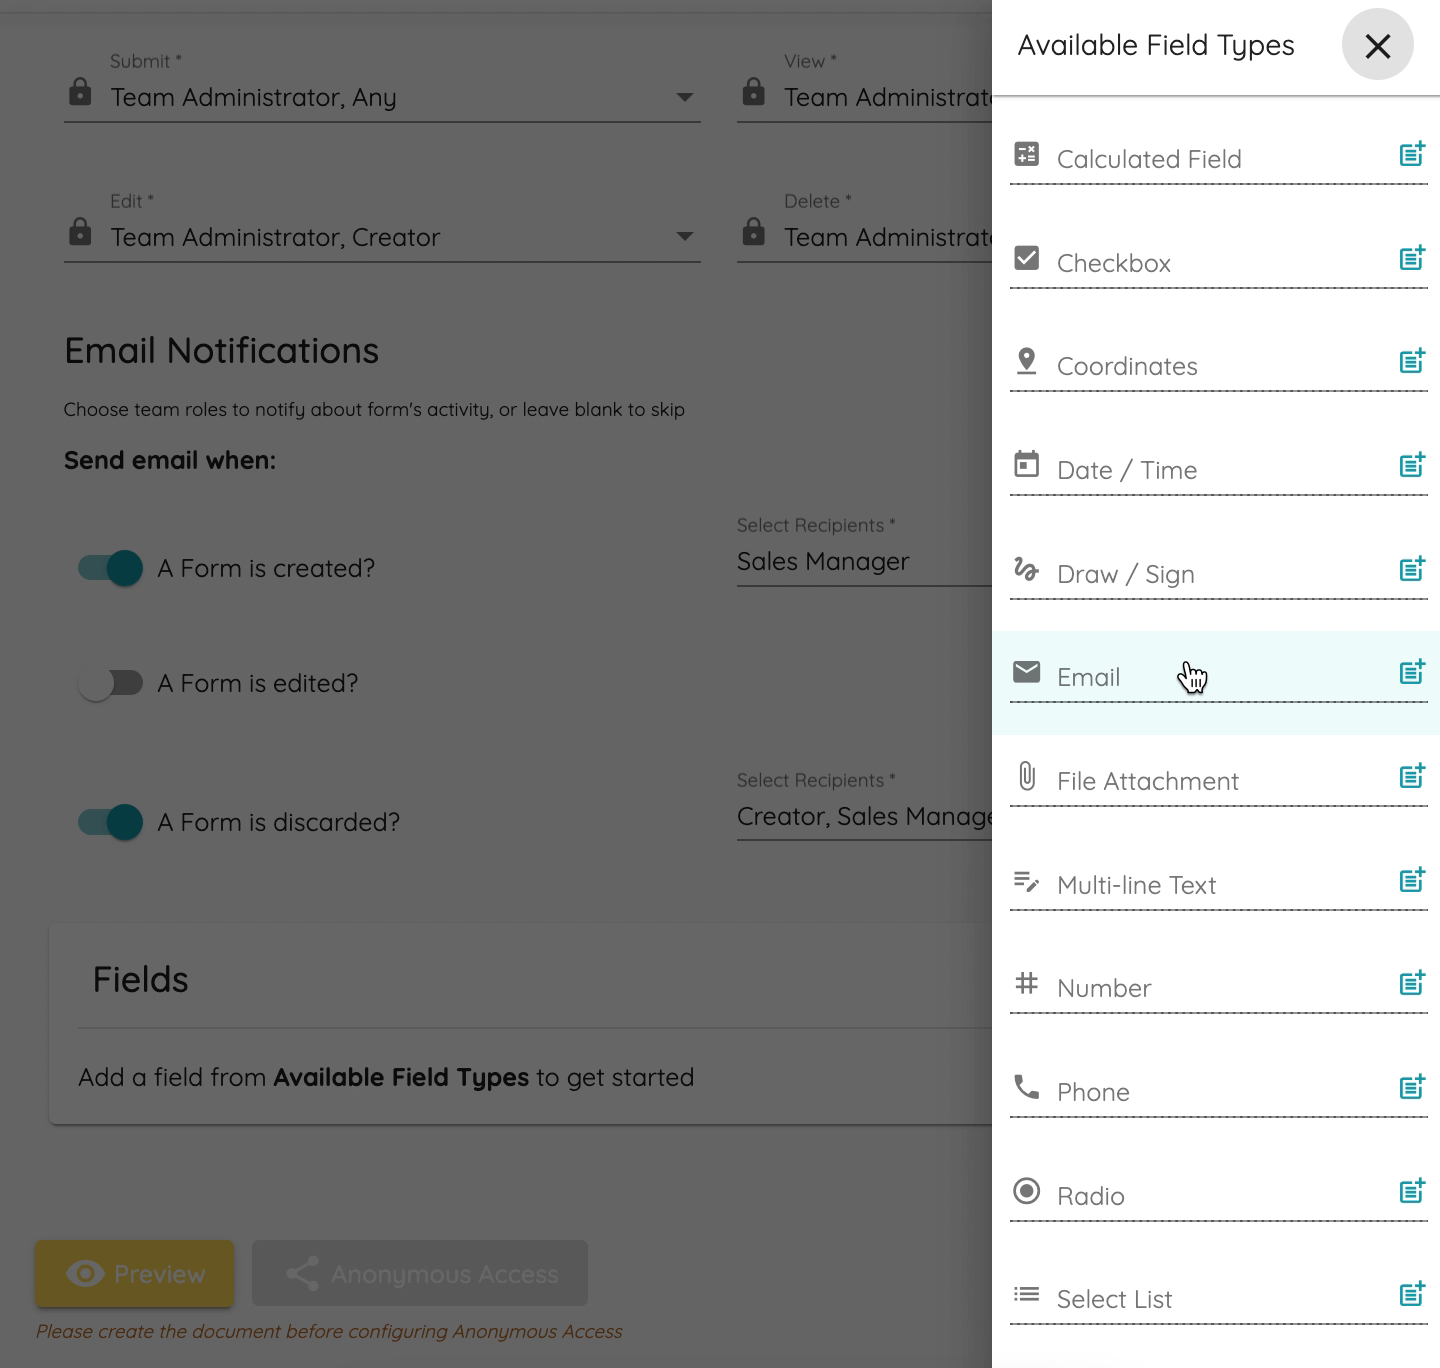
On the top right of this page, click on the menu icon to open the Available Field Types side menu. Here is where you select each field (and its type) that you want to add to your document.
Let's start by adding a "Text" field. Click on the line that reads "Text" to open the field settings (Field Options).
The first step is to write your desired field label and decide if you need this to be a required field.
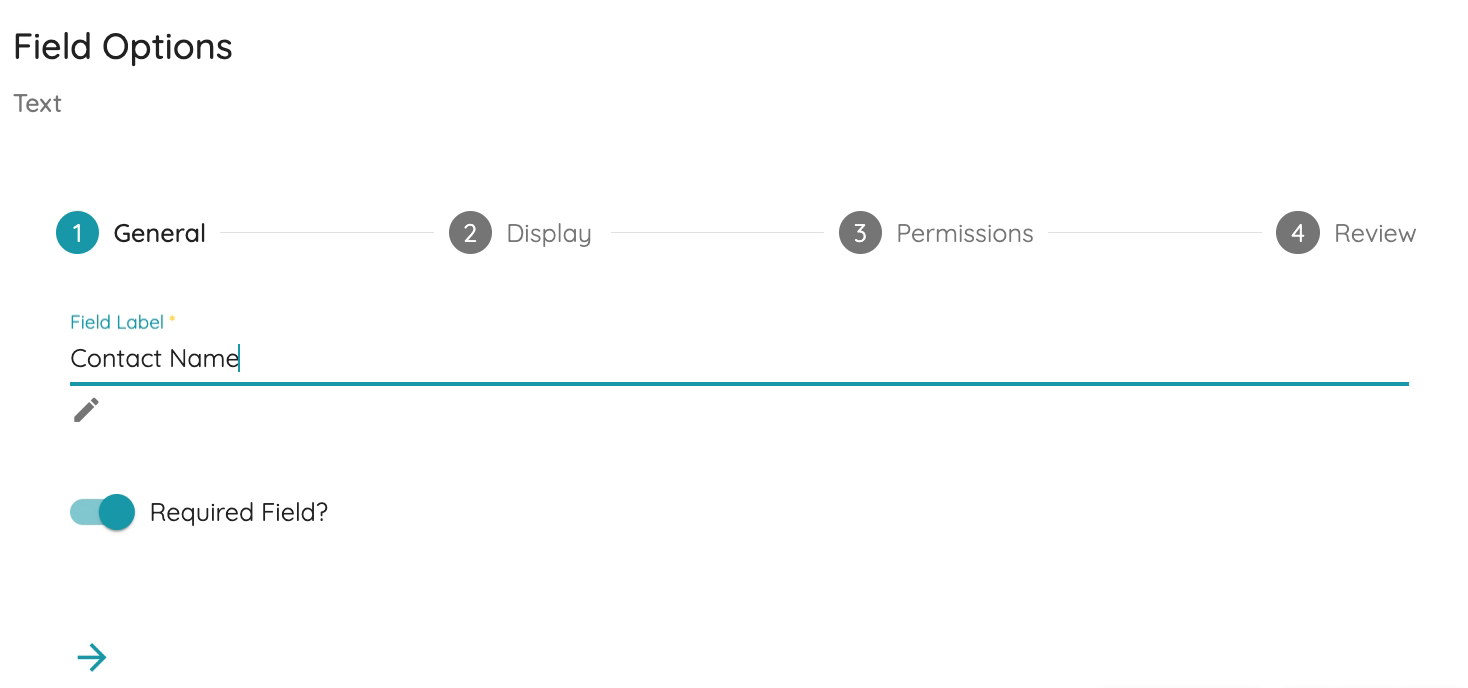
To continue setting-up the field, click on the arrow or on the number 2 "Display" title. Here we set the width and icon for this field.
This field is simple and straight-forward, so if you are done configuring it, click "Save" on the bottom right at any point to add the field to the document and continue creating new ones as needed.
Tip: It'll be easier to decide on a field width as you preview your document once we save and close this dialog. You'll be able to manage the layout of the form with click-and-drag to make changes to the order and width of any field.
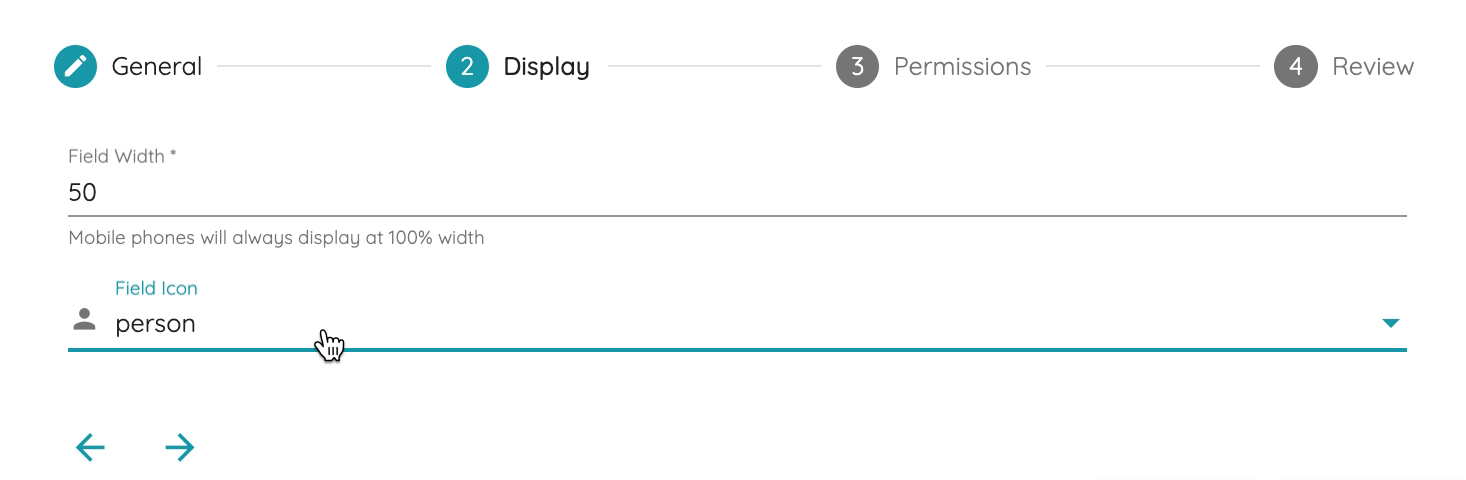
Since we are creating a Lead Capture Form, we need a field for the "Contact Name" (which we just created) and a field for the "Customer (or company) Name".
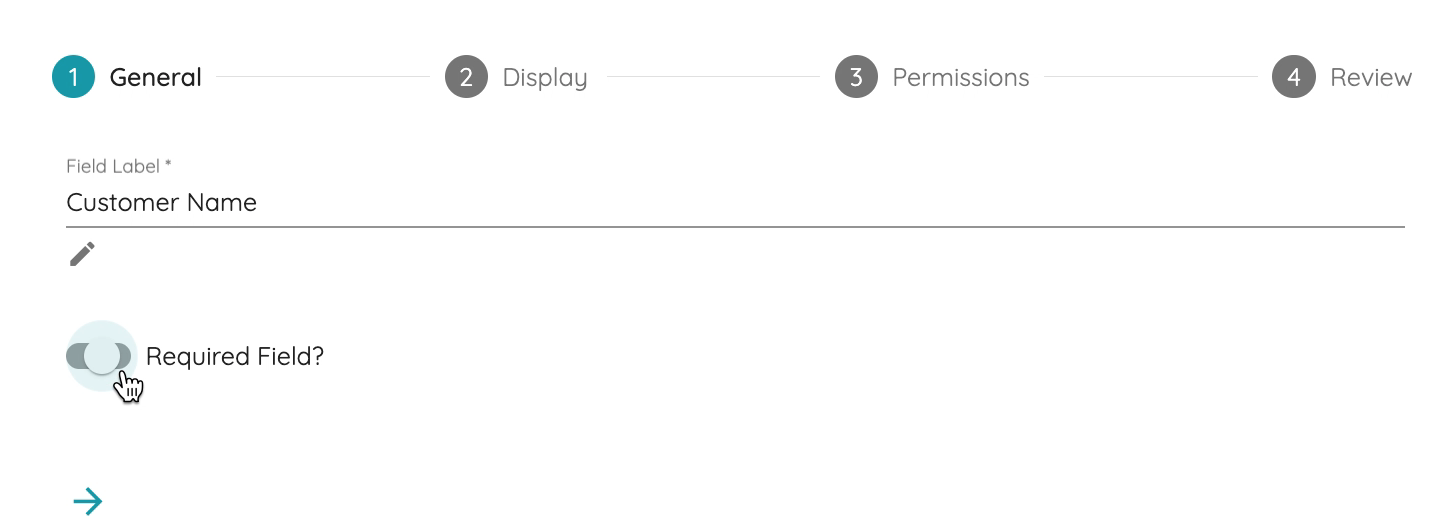
Follow the same steps as above to open Field Options for a new text field. Type in your desired field label, toggle "Required" to be on and continue to step 2, Display.
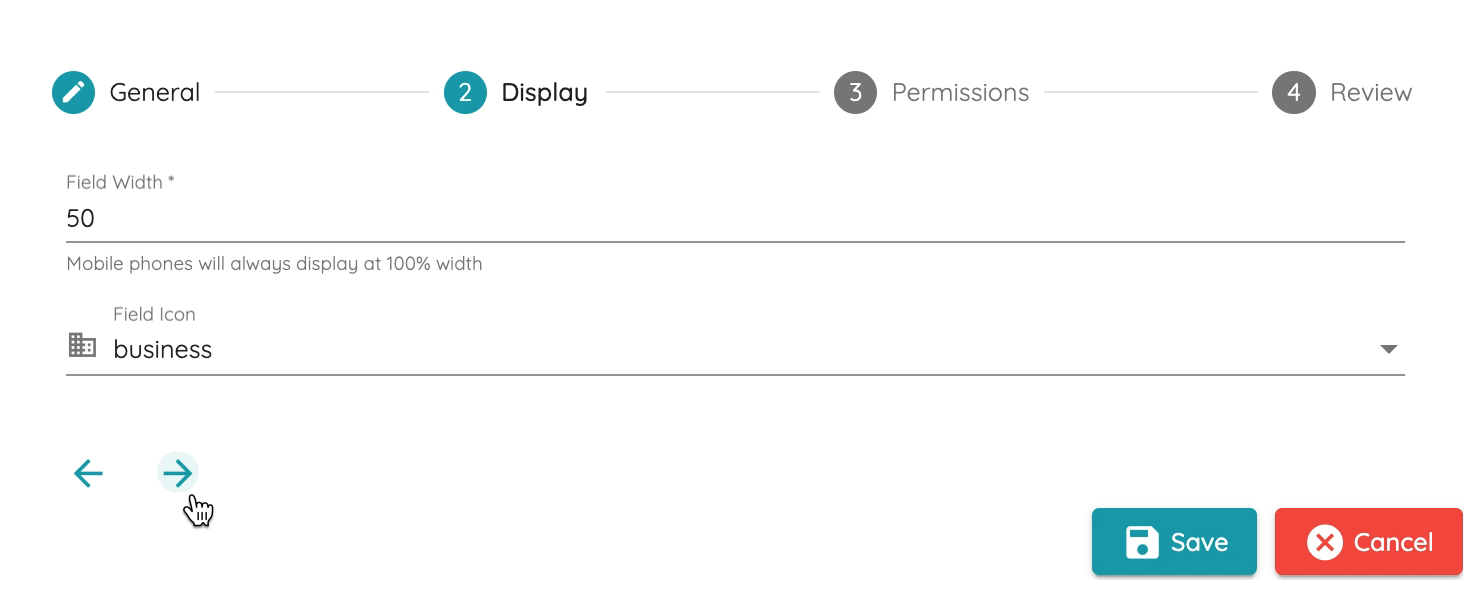
Because this field is for businesses' names, you can select the business field icon. This does not affect anything other than the look of your form. All field types already have a default field icon selected, so you can skip this step if you're not looking to customize it.
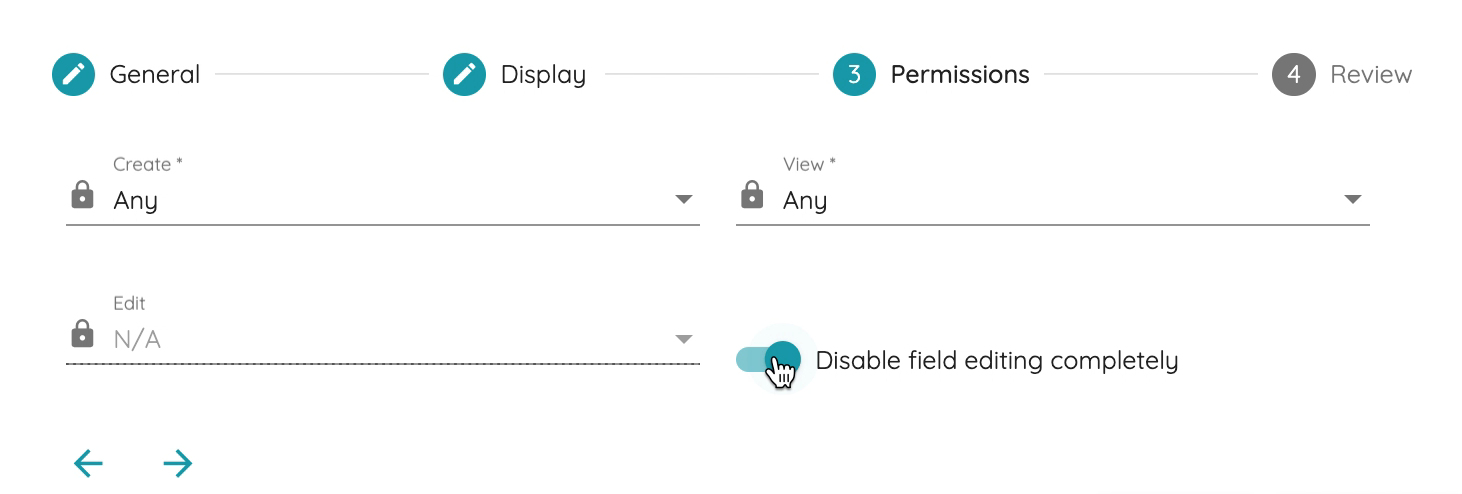
Let's look at Step 3, Permissions. Notice the field permissions mirror the general document permissions. It functions the same way, but it allows Admins to refine access to the form's data. This can be very helpful for privacy and forms with sensitive information on specific fields.
In this case the "Customer Name" is not going to change so to avoid any possible confusions, click to "disable field editing completely". Then press "Save" and click back to open the Available Field Types menu once again, this time to add a "Phone Number".
Based on your needs, you may choose to mark the phone number as a required field.
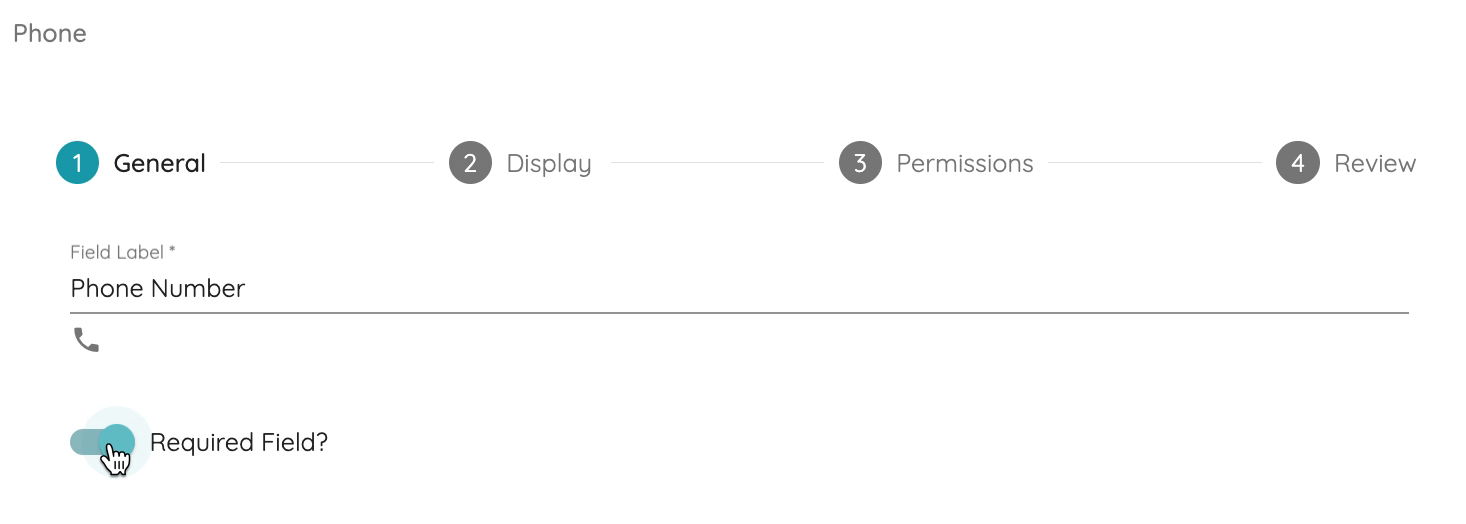
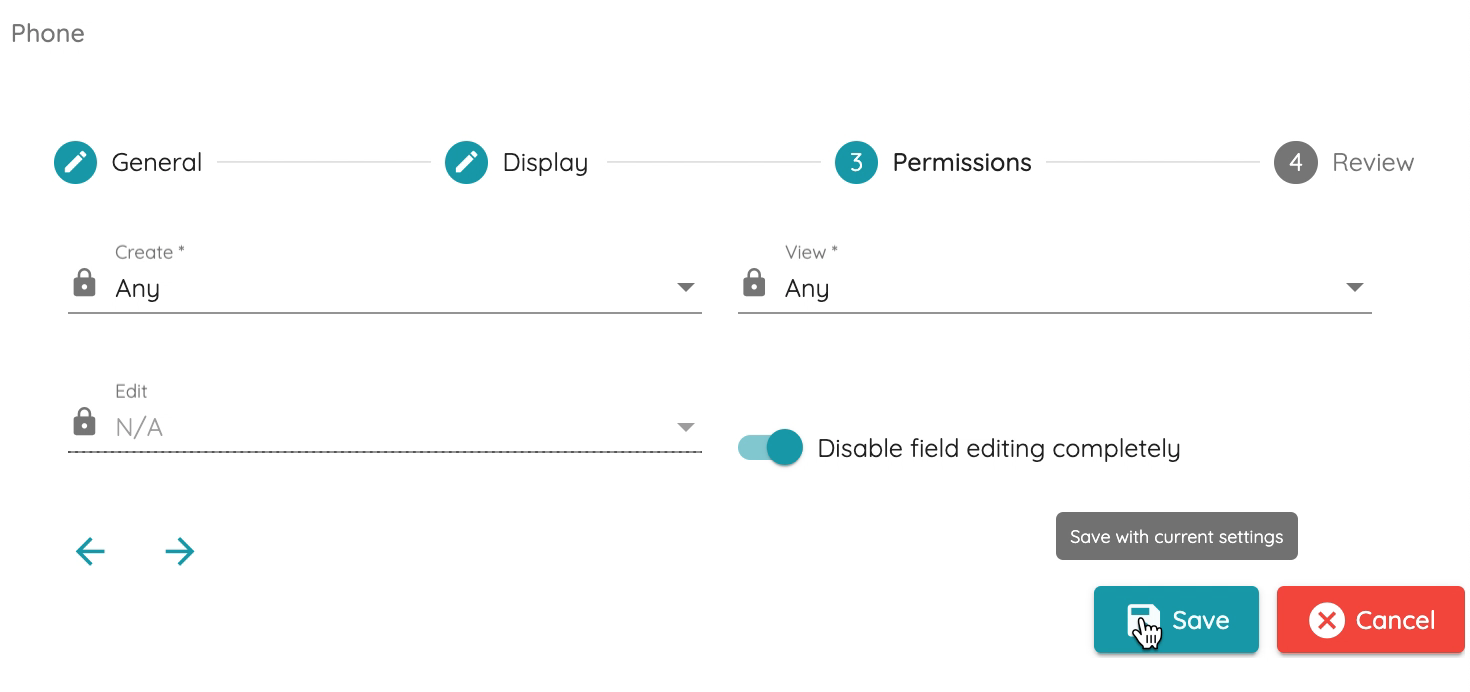
Phone numbers for businesses aren't likely to change, so you can disable field editing permissions for this field as well. Press "Save" on the bottom right to add this field with its current settings to your document.
Repeat the steps to continue adding fields to the form as necessary. For this example, we're adding a "Multi-Line Text" field type next labeled "Notes".
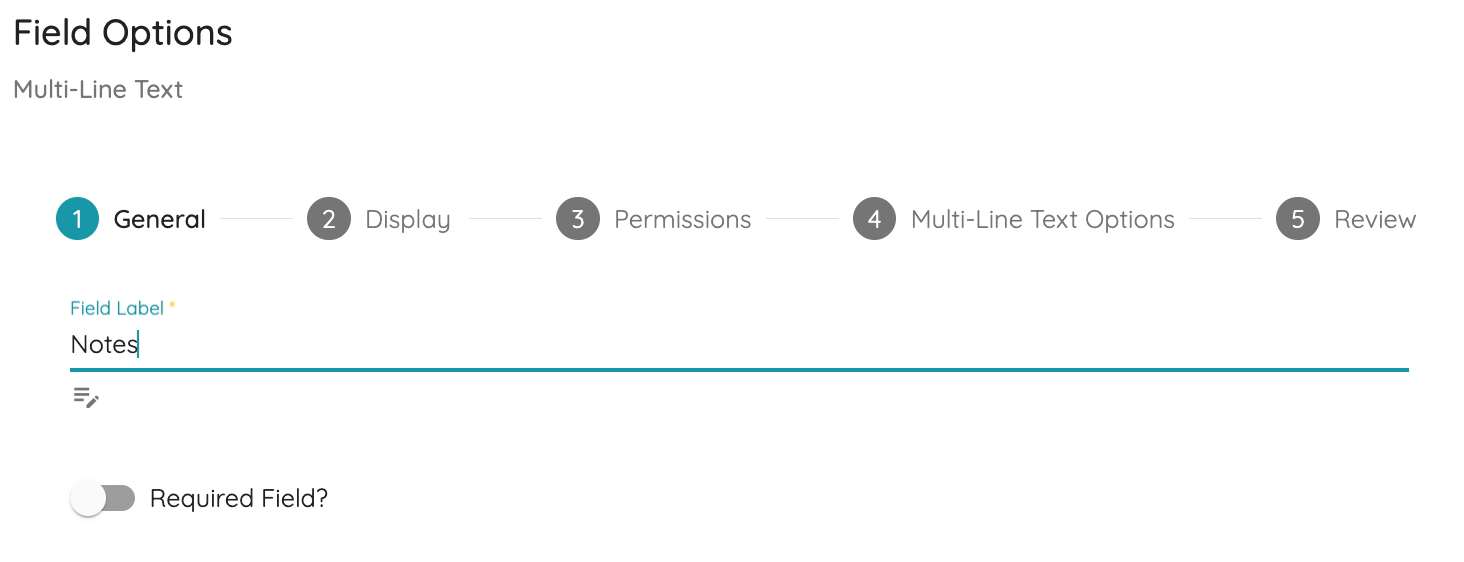
Notice Multi-Line Text Field Options have an additional step (step 4). This will be the case for special-case field types or field types that allow further customization (e.g., on the Draw/Sign field type admins can customize pen color and width).
For this multi-line text field, let's toggle on the options for "Rich Text Editor", "Spellcheck" and "Resizing".
Rich Text Editor will allow the user to format their notes as they prefer, with different font styles, sizes, colors, links, images, etc.
"Allow Resizing" lets the user click and drag the text box to fit their size needs for easier visualization.
Once you're satisfied with the field customizations press "Save". 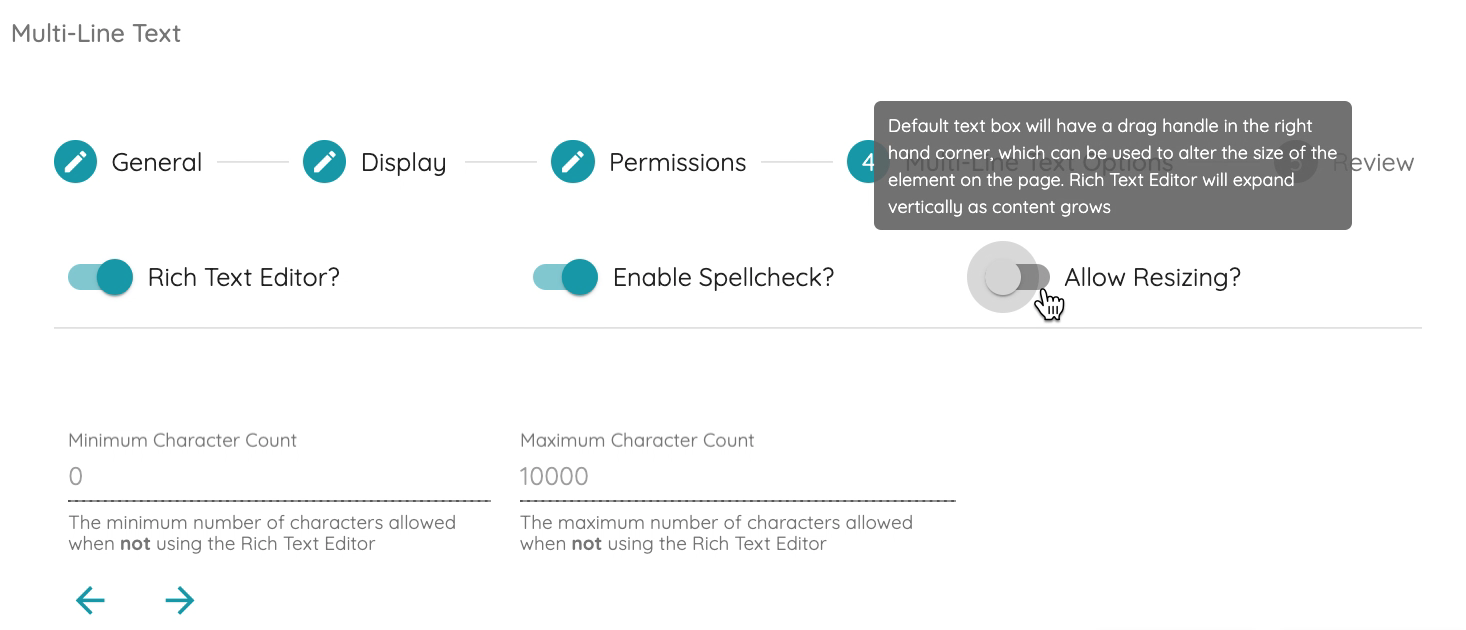
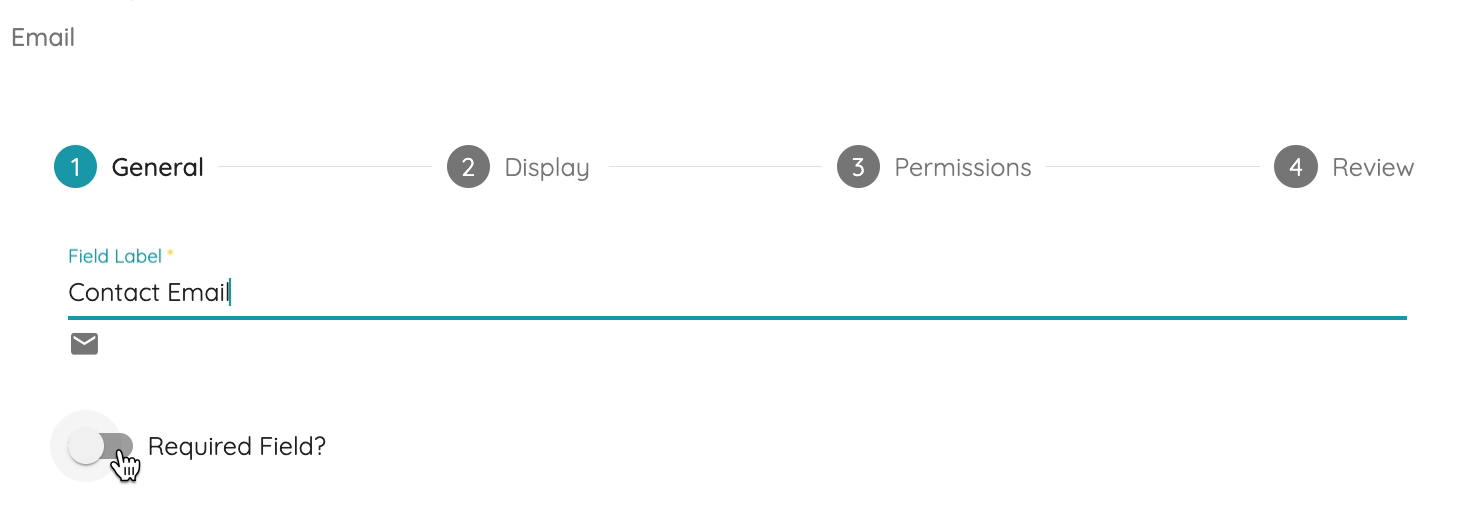
Let's add an Email field type next. Label this field as "Contact Email" and mark it required. Since this is a simple field, you can click "Save" immediately after and save time.
Once the Field Options window is closed let's observe the Fields section. It will look like this.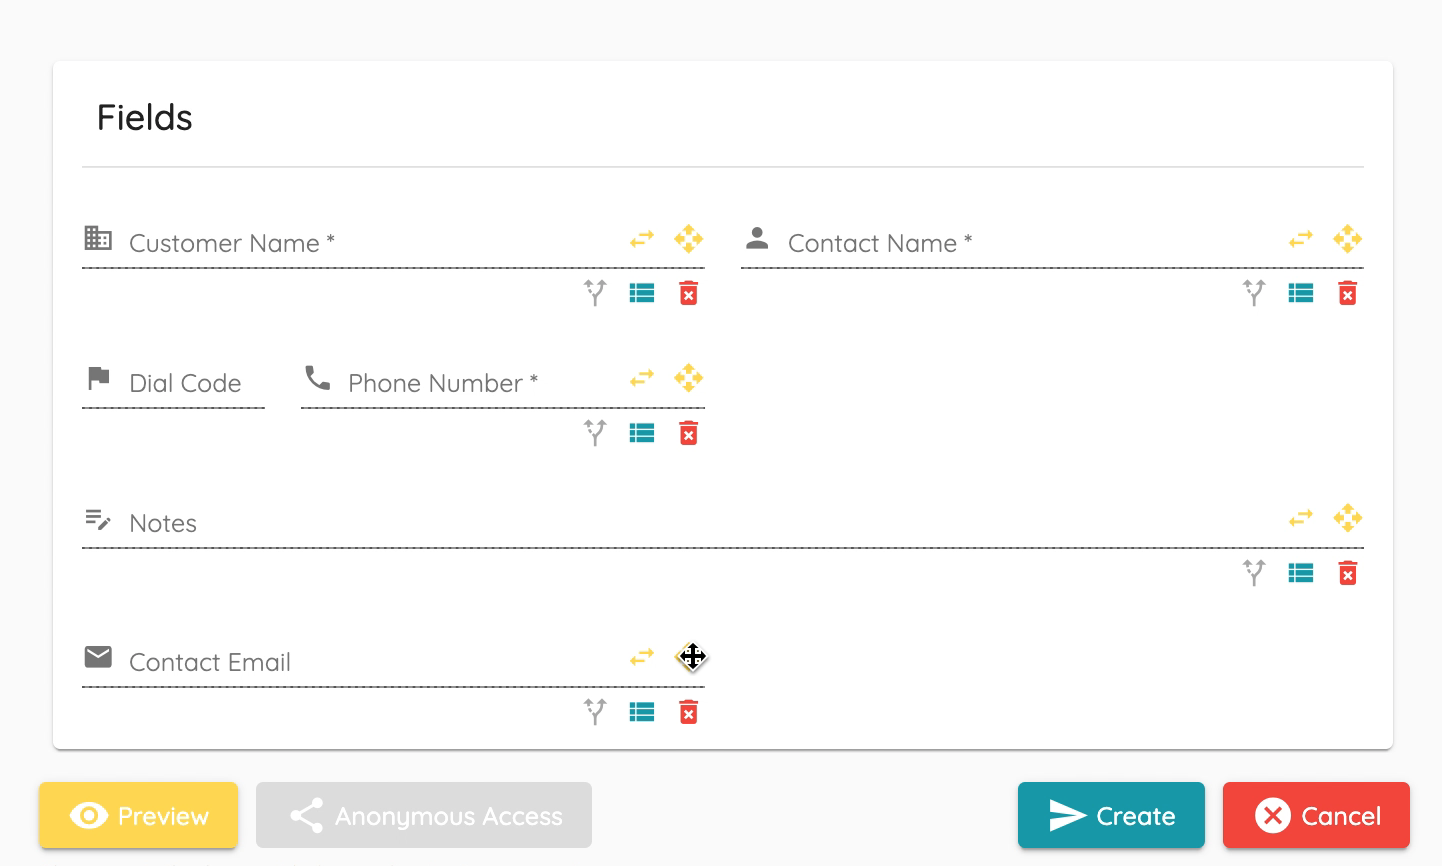
The fields we added to the document were placed in that same order and fit according to their width.
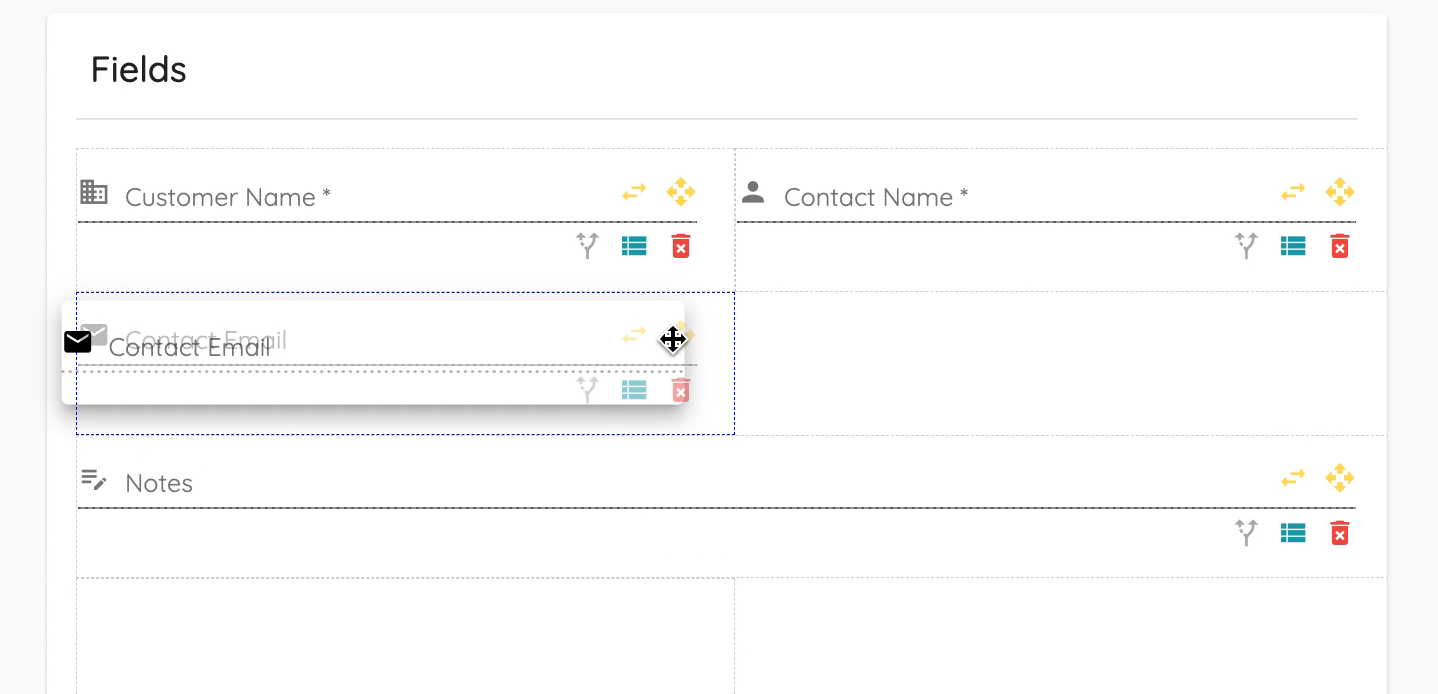
The form doesn't look quite right the way it is currently, so you can click and grab a field to re-organize the layout. In this case, drag the Contact Email field up under Customer Name.
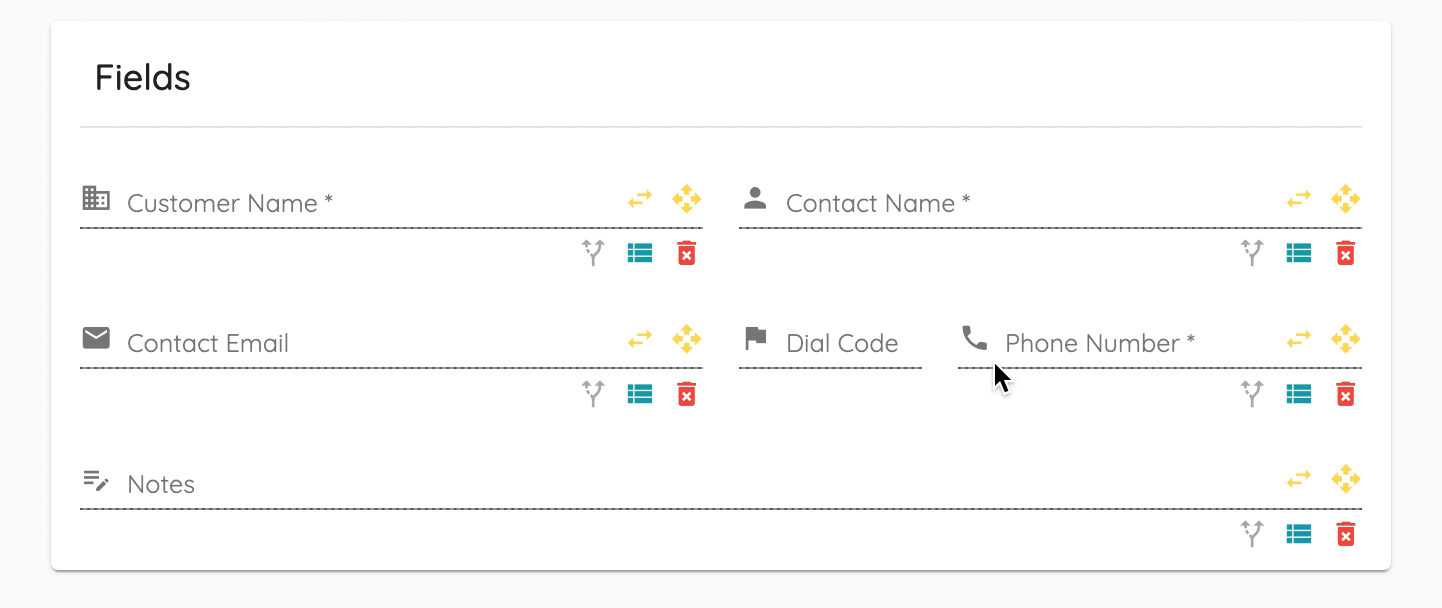
The form already looks much better and the fields are in an order that makes more sense.
This lead capture form could benefit from capturing more details, so let's add 2 more fields.
Click to open Available Field Types, click on Checkbox.
The label for this field will read "Preferred method of contact".
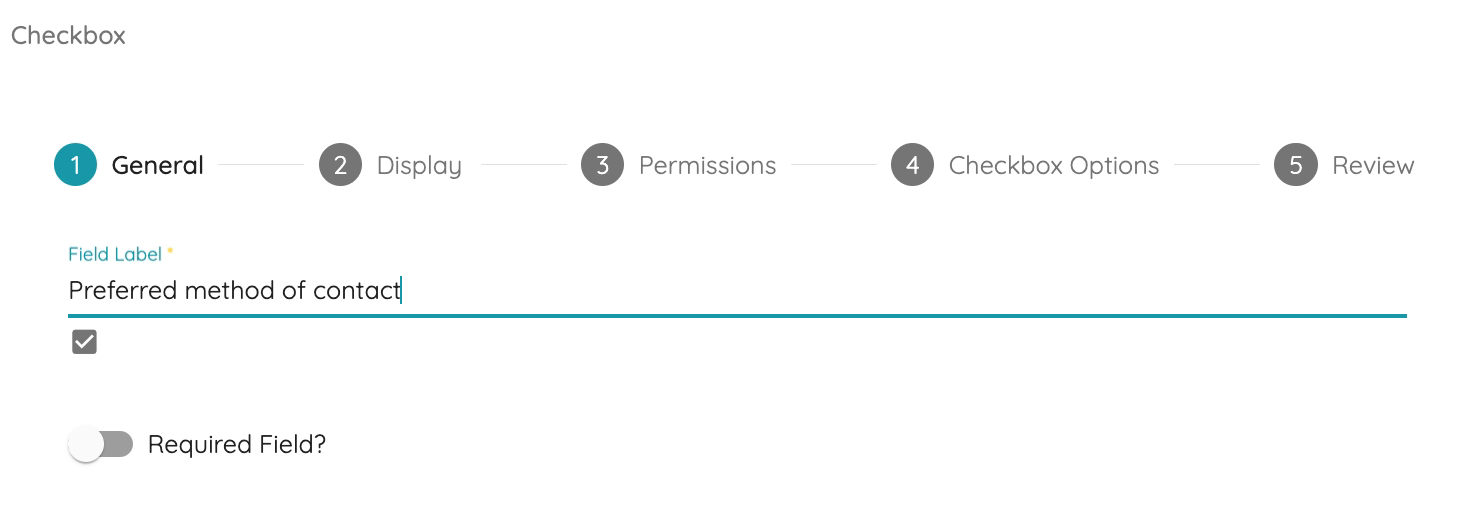
Just like Multi-Line Text as a field type, the checkbox is a special case field type, so it has the additional options step (4). When you reach step 4 you will find a text box area to type in the checkbox options you want to have on this field. Each time you break-line, this marks a new checkbox option. The preview will help you ensure your checkbox is configured as desired.
Type in Phone, press Enter, type Email, press Enter, and so on. Watch as the options show-up in the preview.
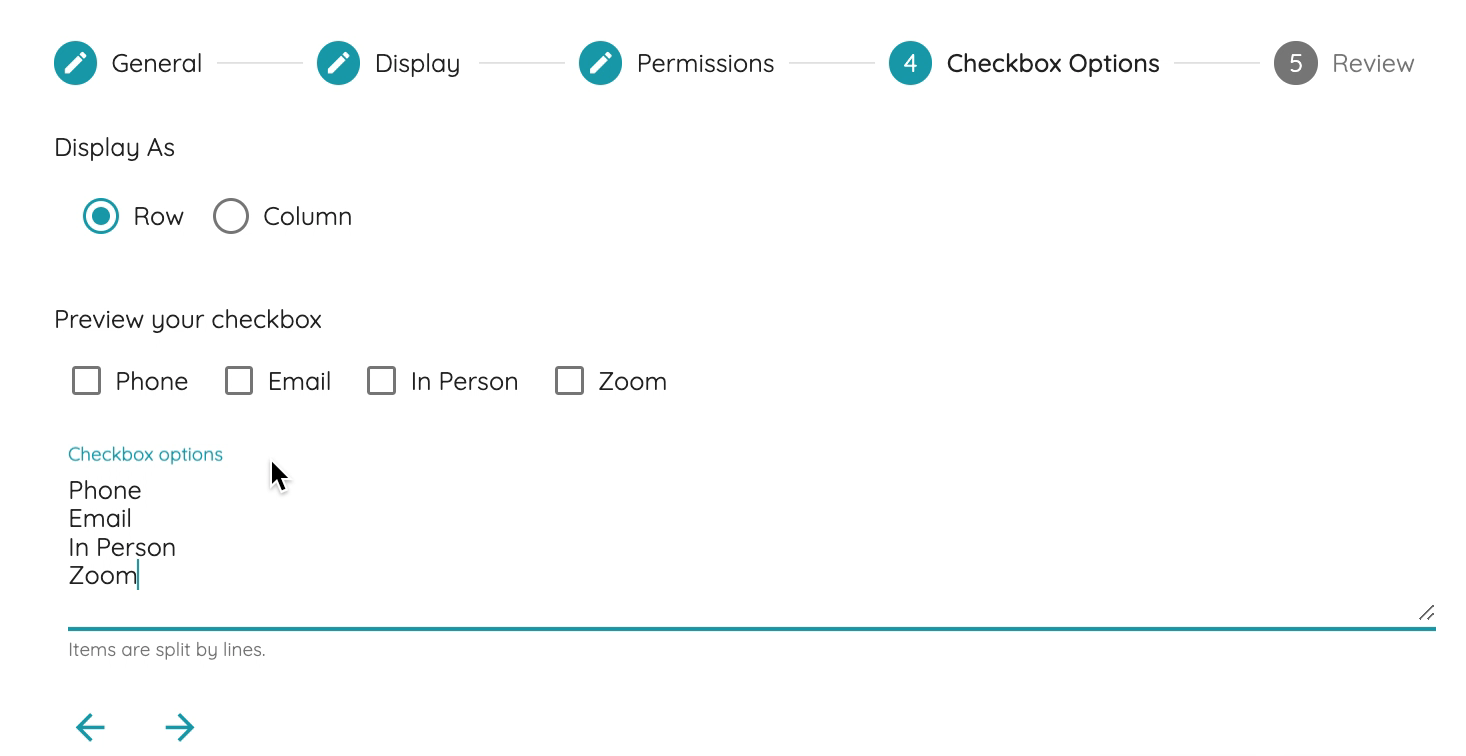
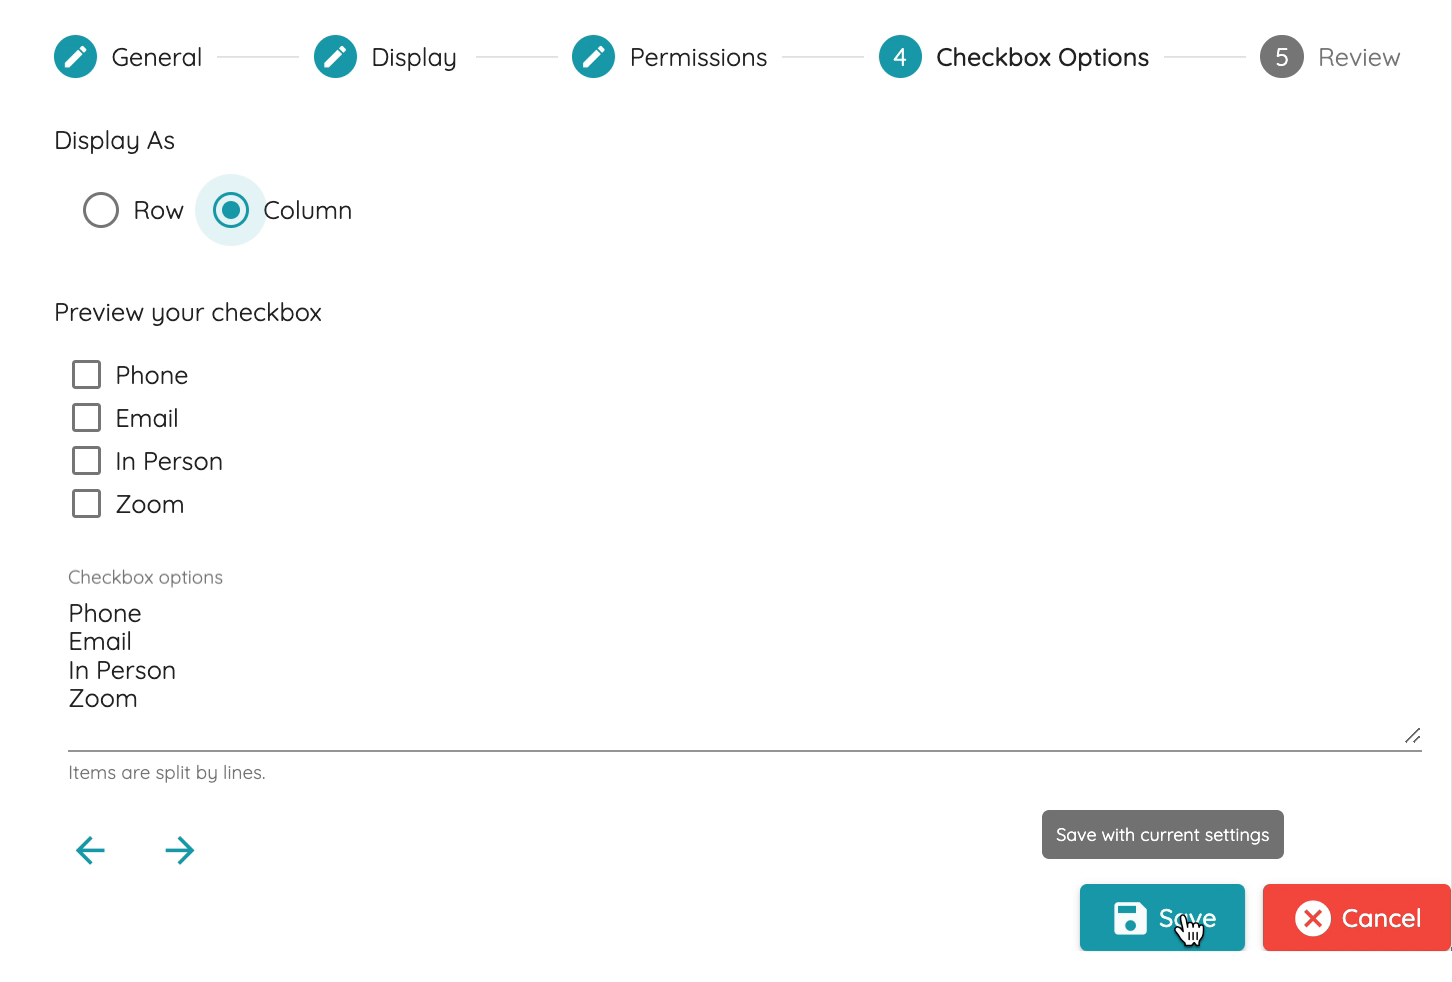
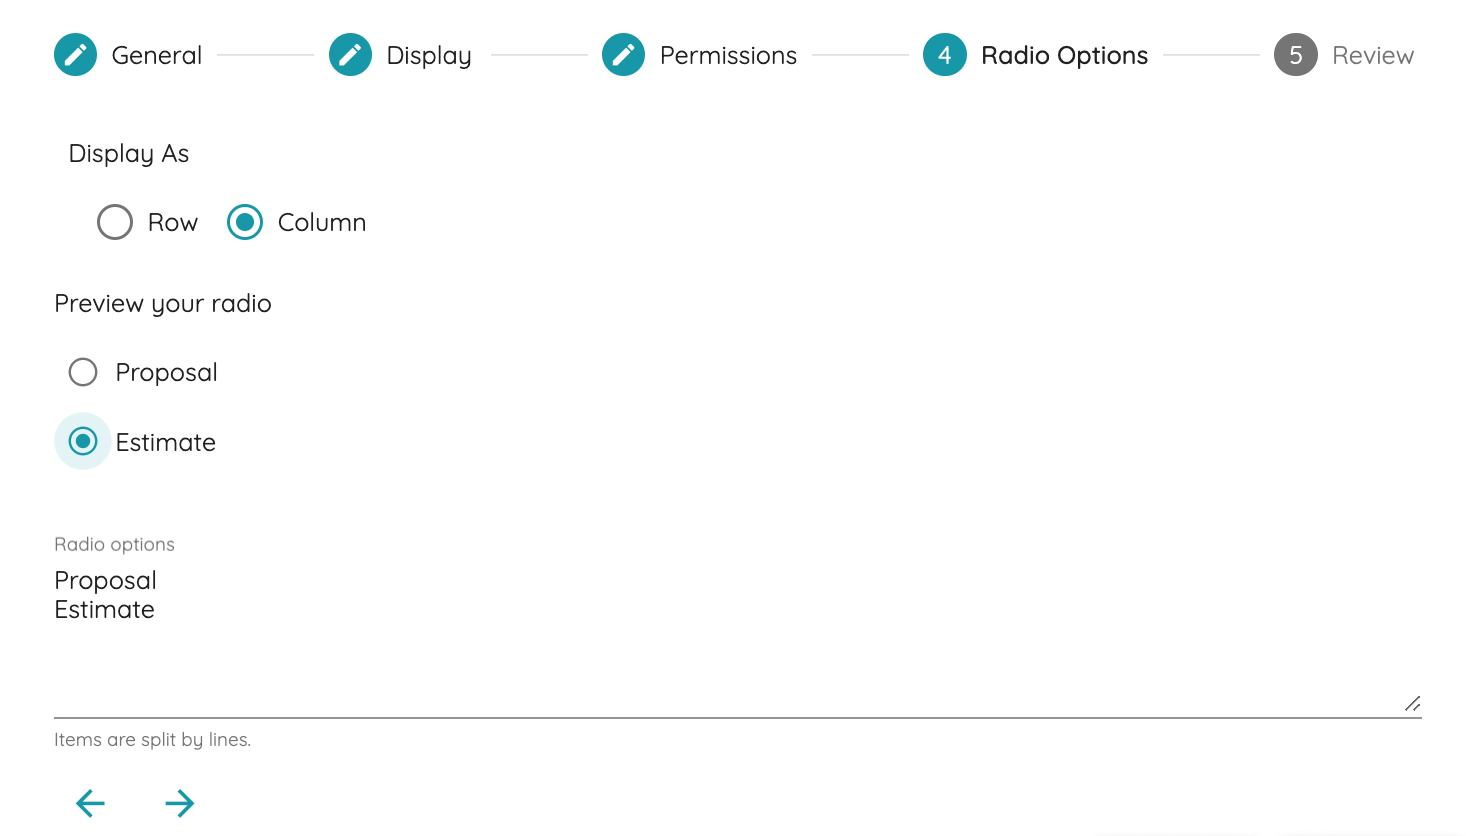
Notice the "Display As" radio options, "Row" and "Column". These will dictate if the checkbox options you entered are to be displayed horizontally or vertically. "Row" (horizontal) is the default option, but we will select "Column" for this field.
Press "Save" when you're finished.
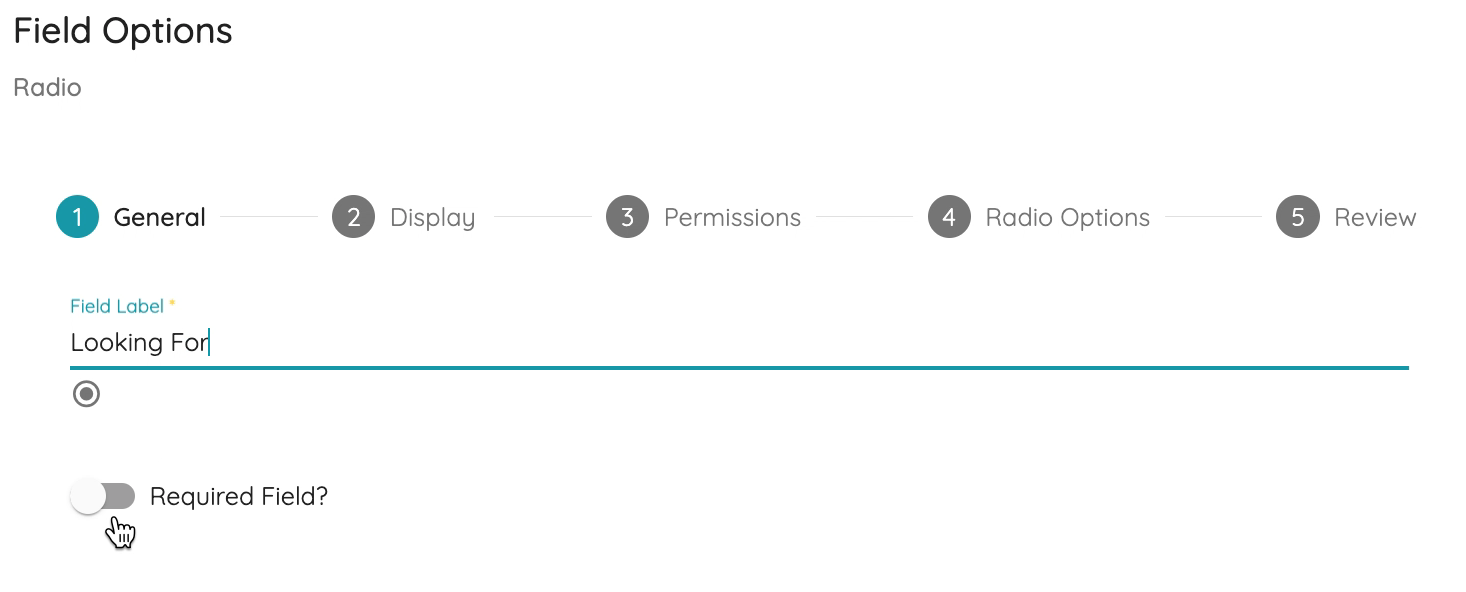
One last field to add! Open the field types, select "Radio". Type "Looking for" as the field label.
On step 4, Radio Options type in the choices.
Tip: "Display As" functions the same as Checkbox, horizontal or vertical. The radio options also function the same as the checkbox options we just saved, pressing "Enter" marks a new option.
Now we're back to the Fields layout. Click and drag both new fields we just added to position them above the "Notes" multi-line text field.
Tip: Click and hold moving sideways to change the field's width immediately. Remember the width number displayed refers to the width percentage over 100% (the horizontal space in a document).
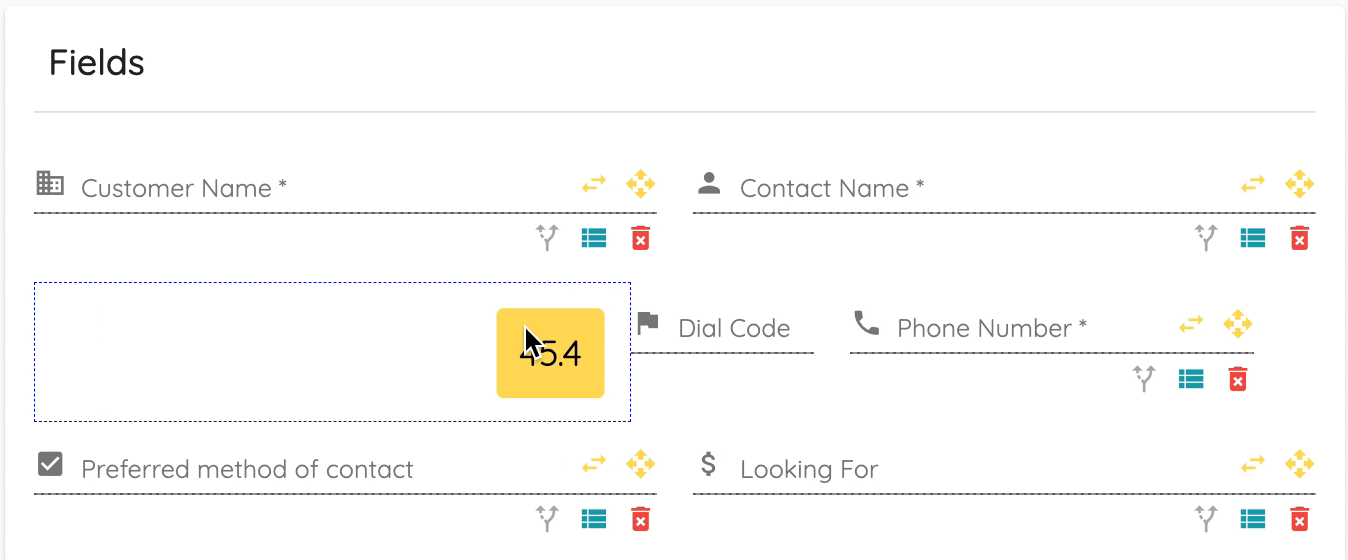
The Document is ready to be created! But why not preview it before saving.
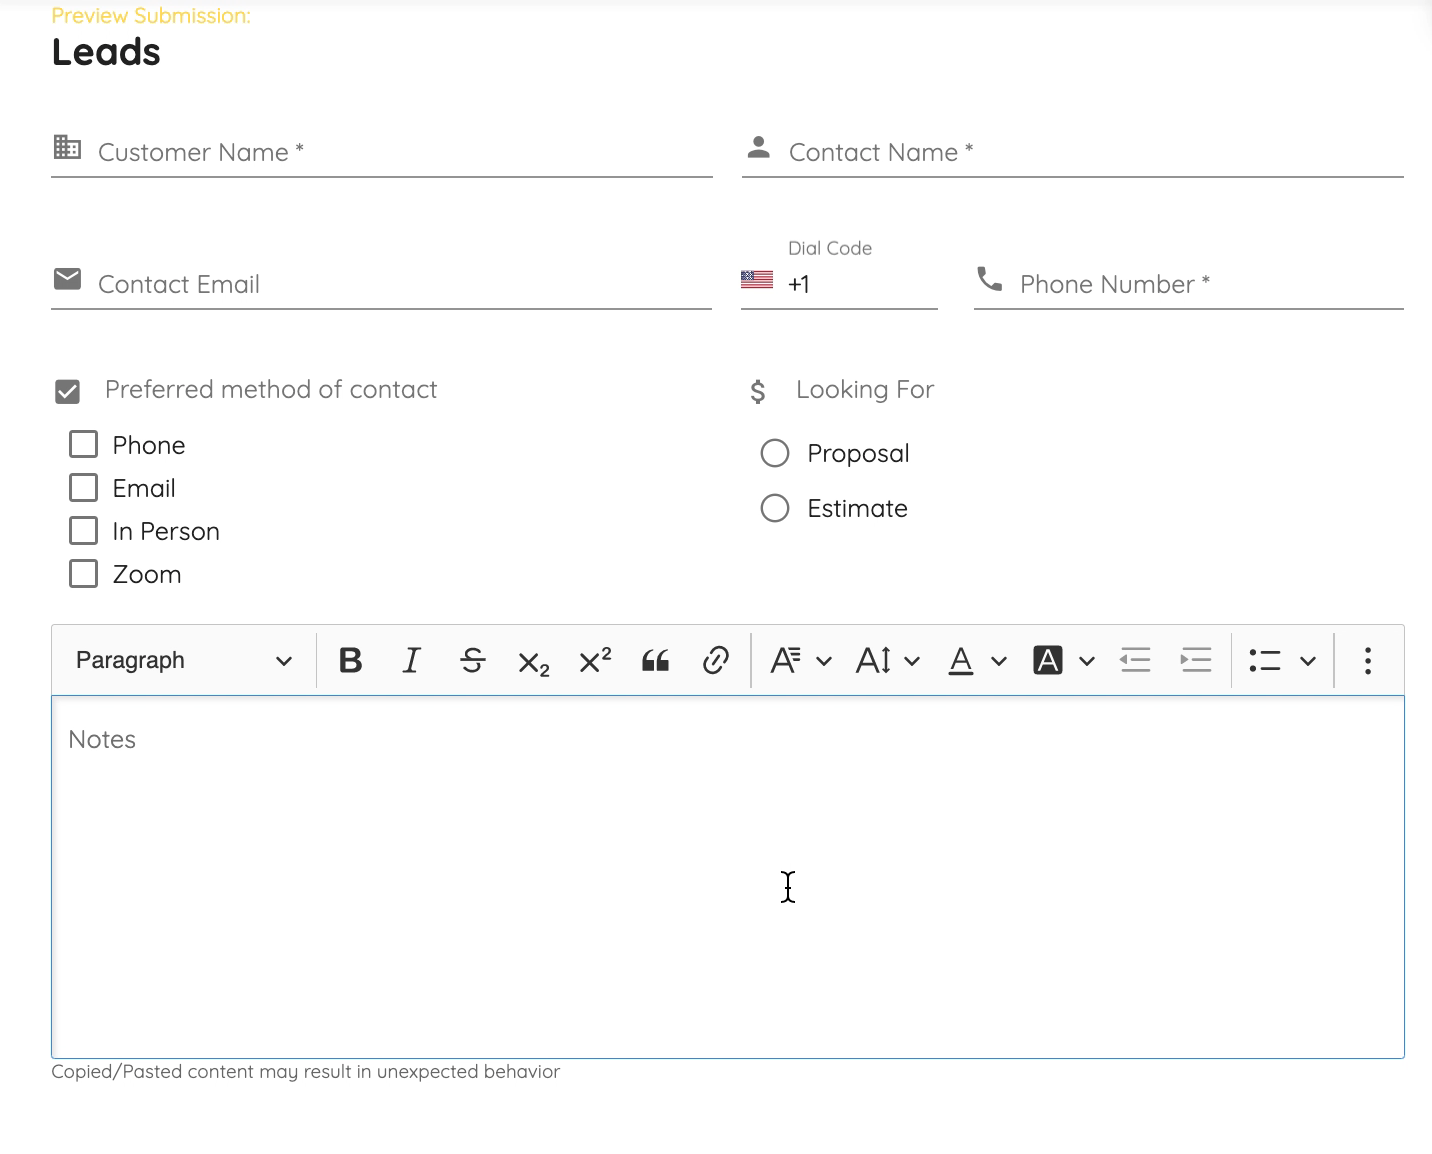
Click on the yellow "Preview" button on the bottom left. This opens up a window with the form you just made. This can help you ensure everything is set and laid-out as desired.
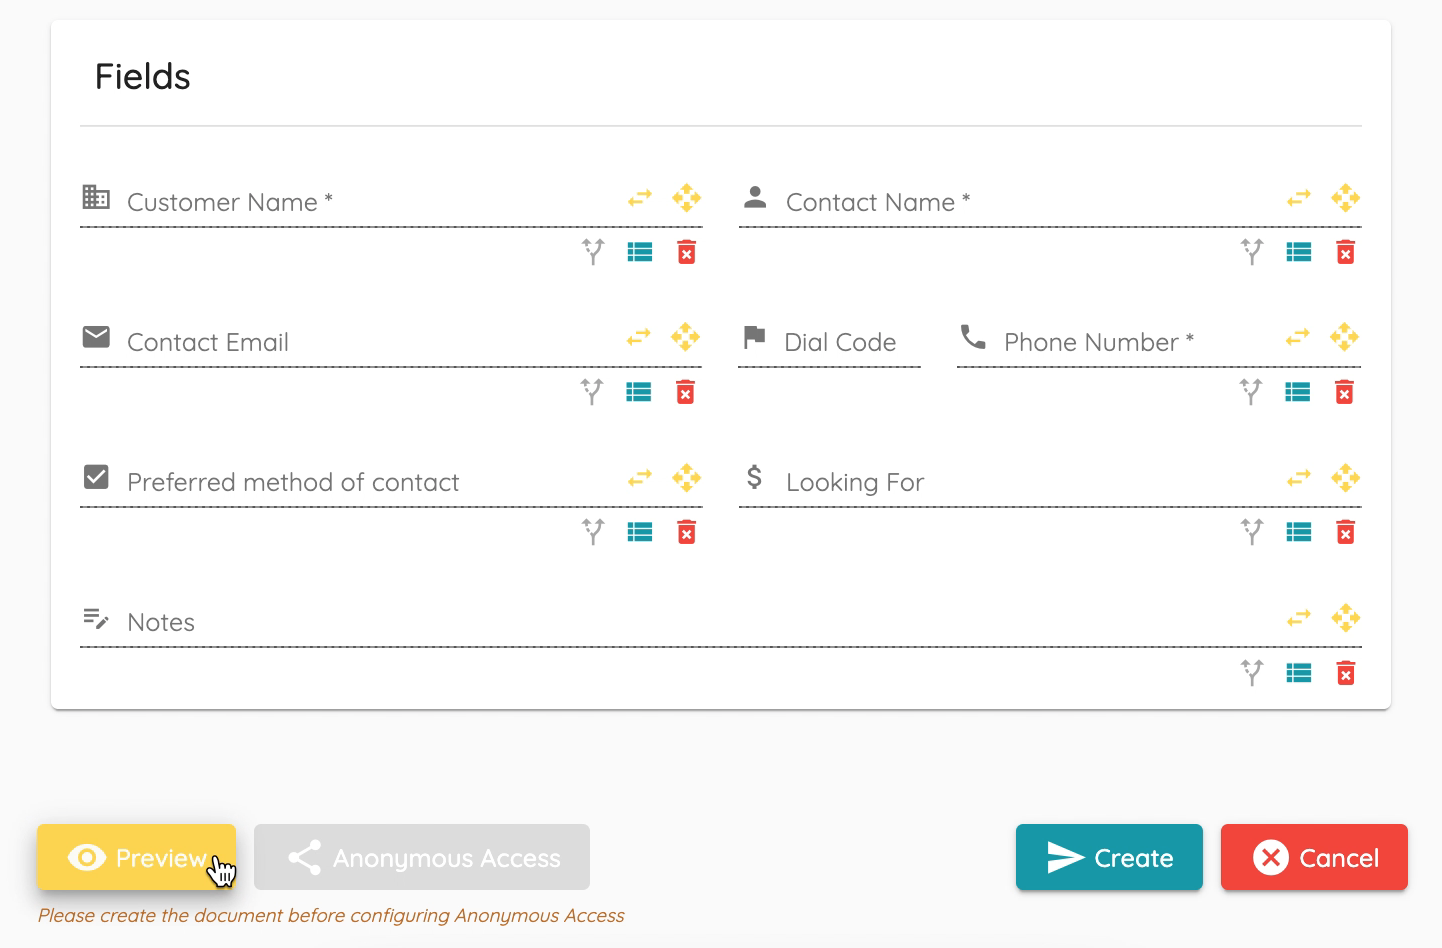
When you're done reviewing the form, click "Cancel" to return to the document creation page.
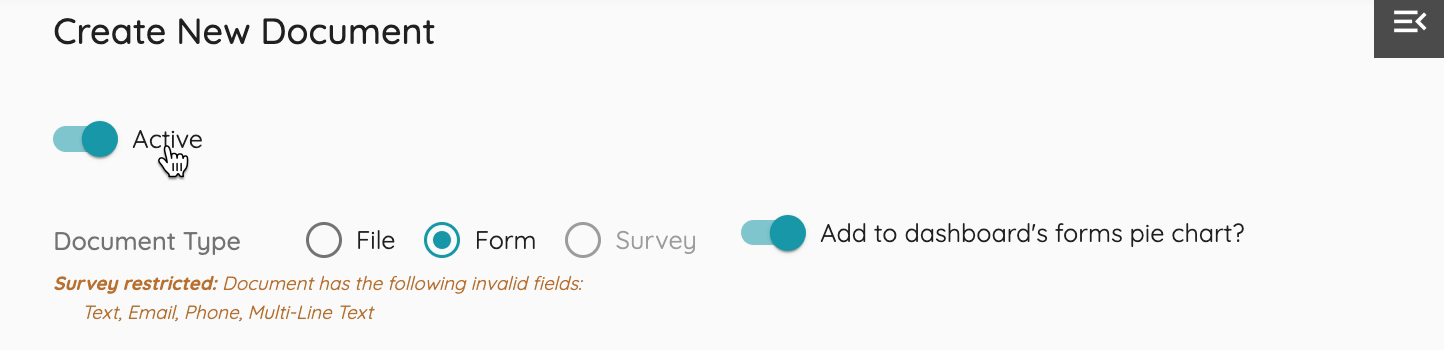
There's only one more thing! Scroll to the top, above Document Type. Notice a toggle that reads "Inactive", this is the default status of new documents. The form will not go live until you set its status to "Active".
Click on the toggle and press "Create" on the bottom right.

That's it! Your Leads capture form was created!
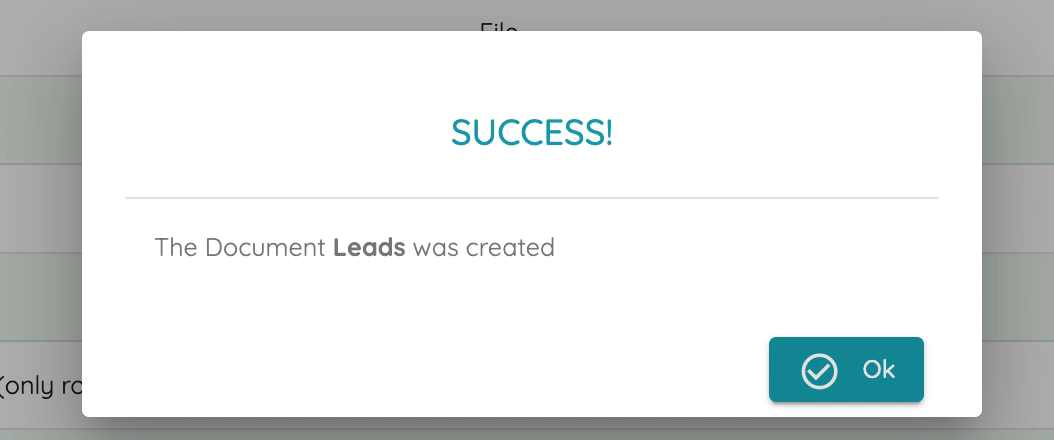
Now you can make the first submission to the Leads form.
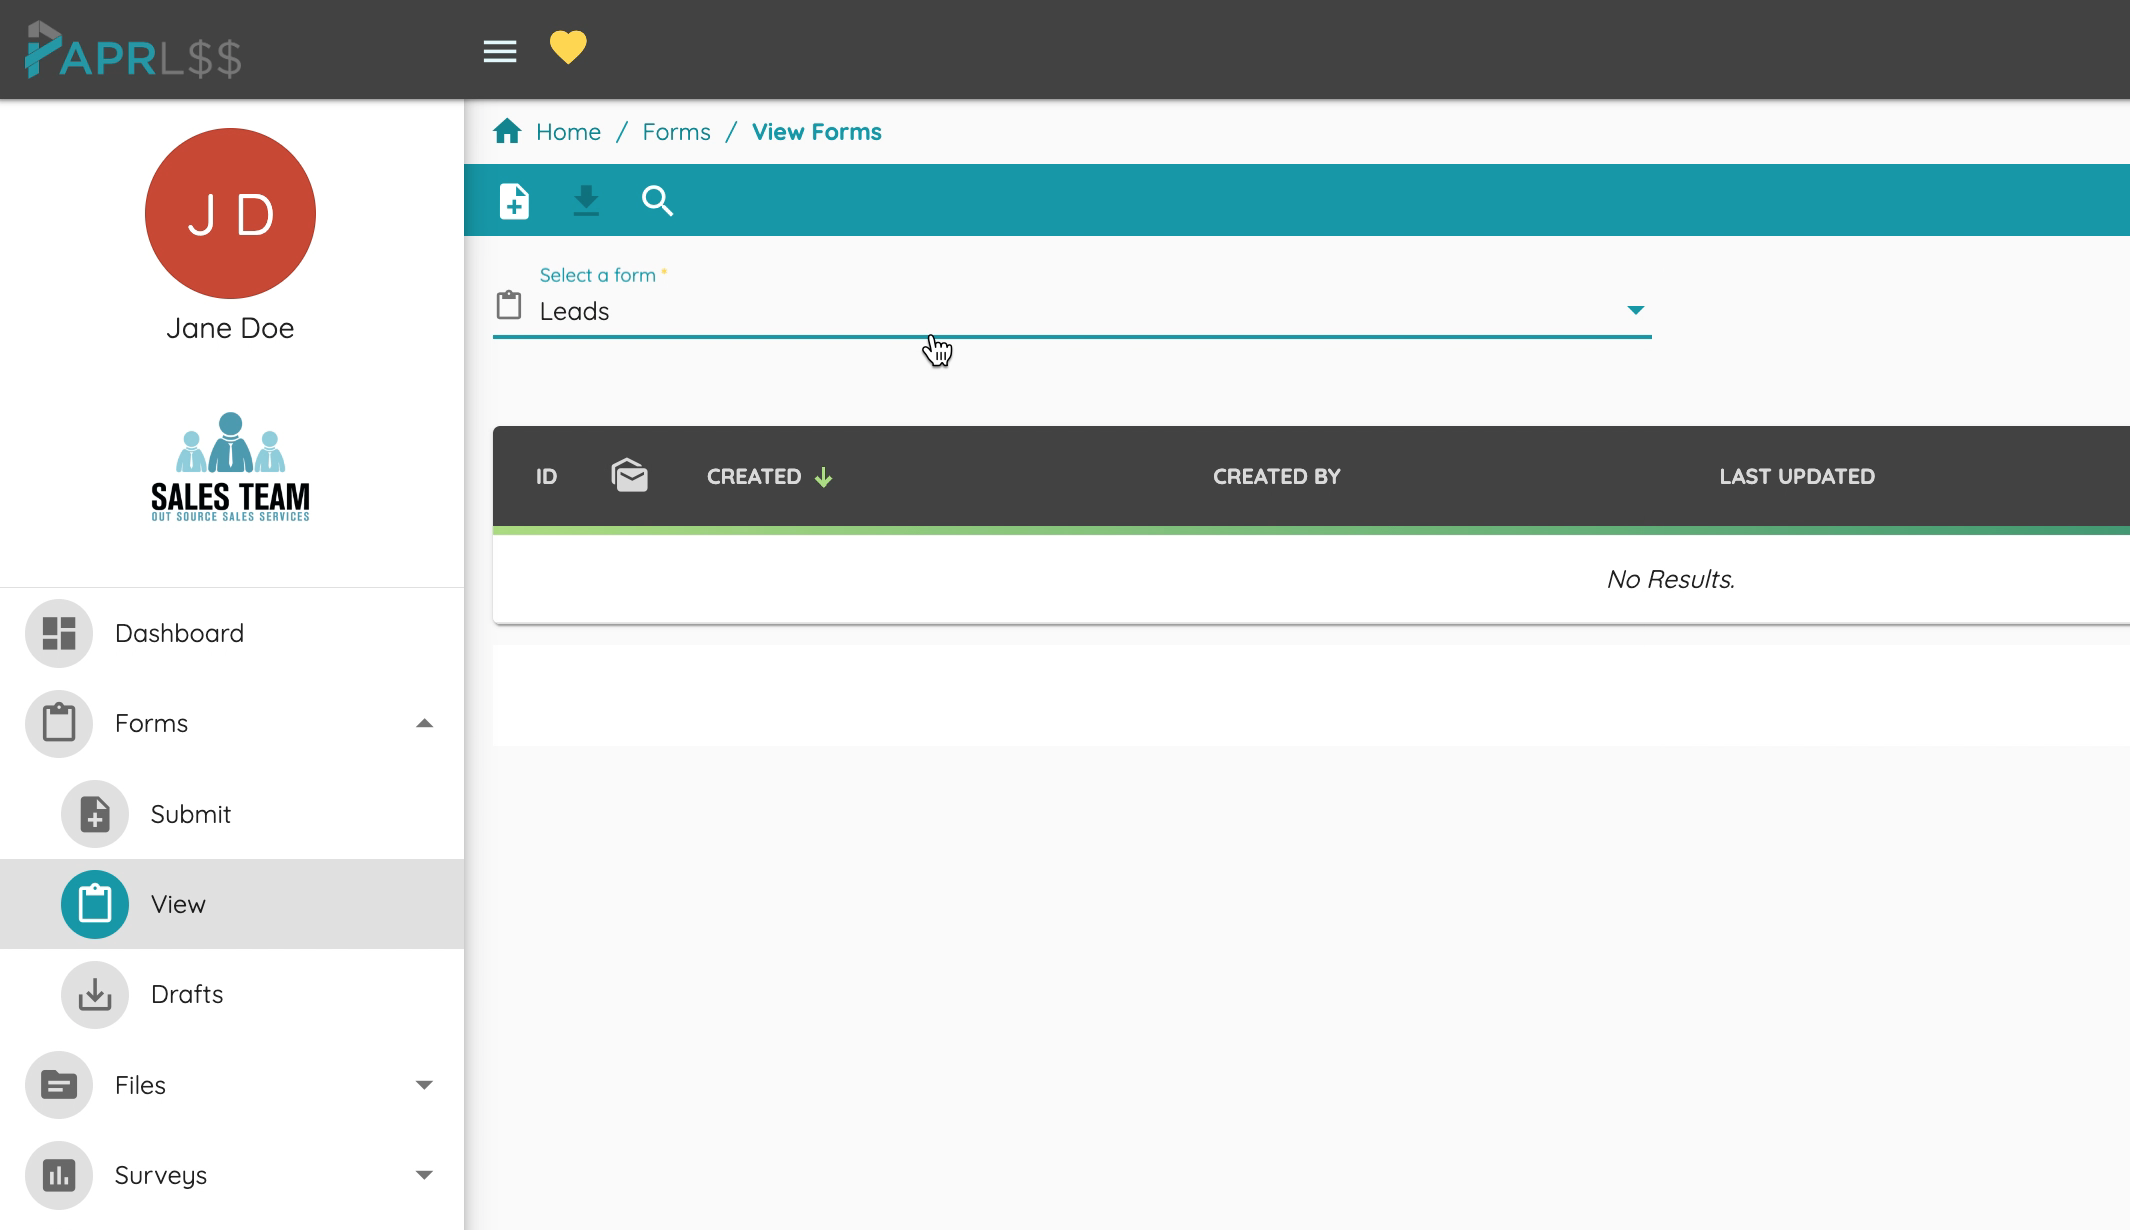
Navigate to Forms on the side menu and select "Submit" or "View", both work.
On the View Forms page select the form you want to submit (in this case, Leads) from the dropdown menu. The table of results will read "No Results", that's OK!
Click on the "+" icon on the top left corner next to your name and avatar to create a form.
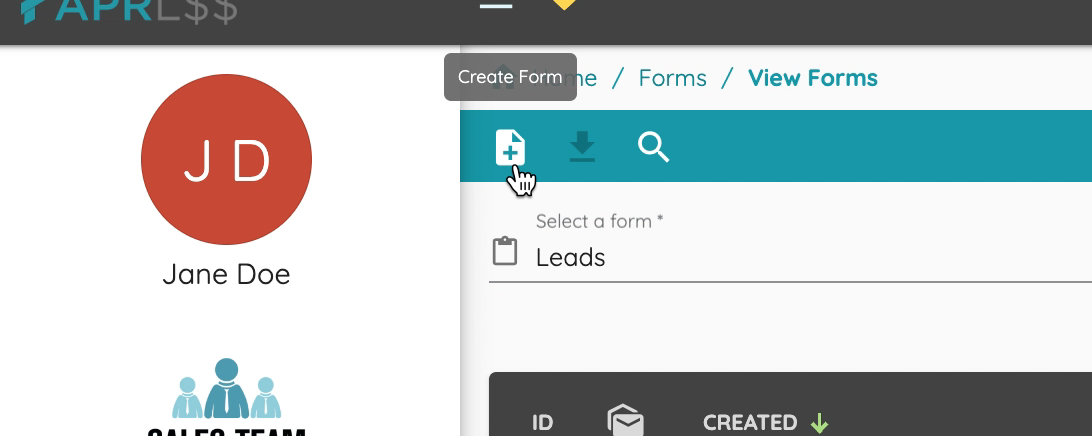
This opens a window with the form to be filled out and submitted.
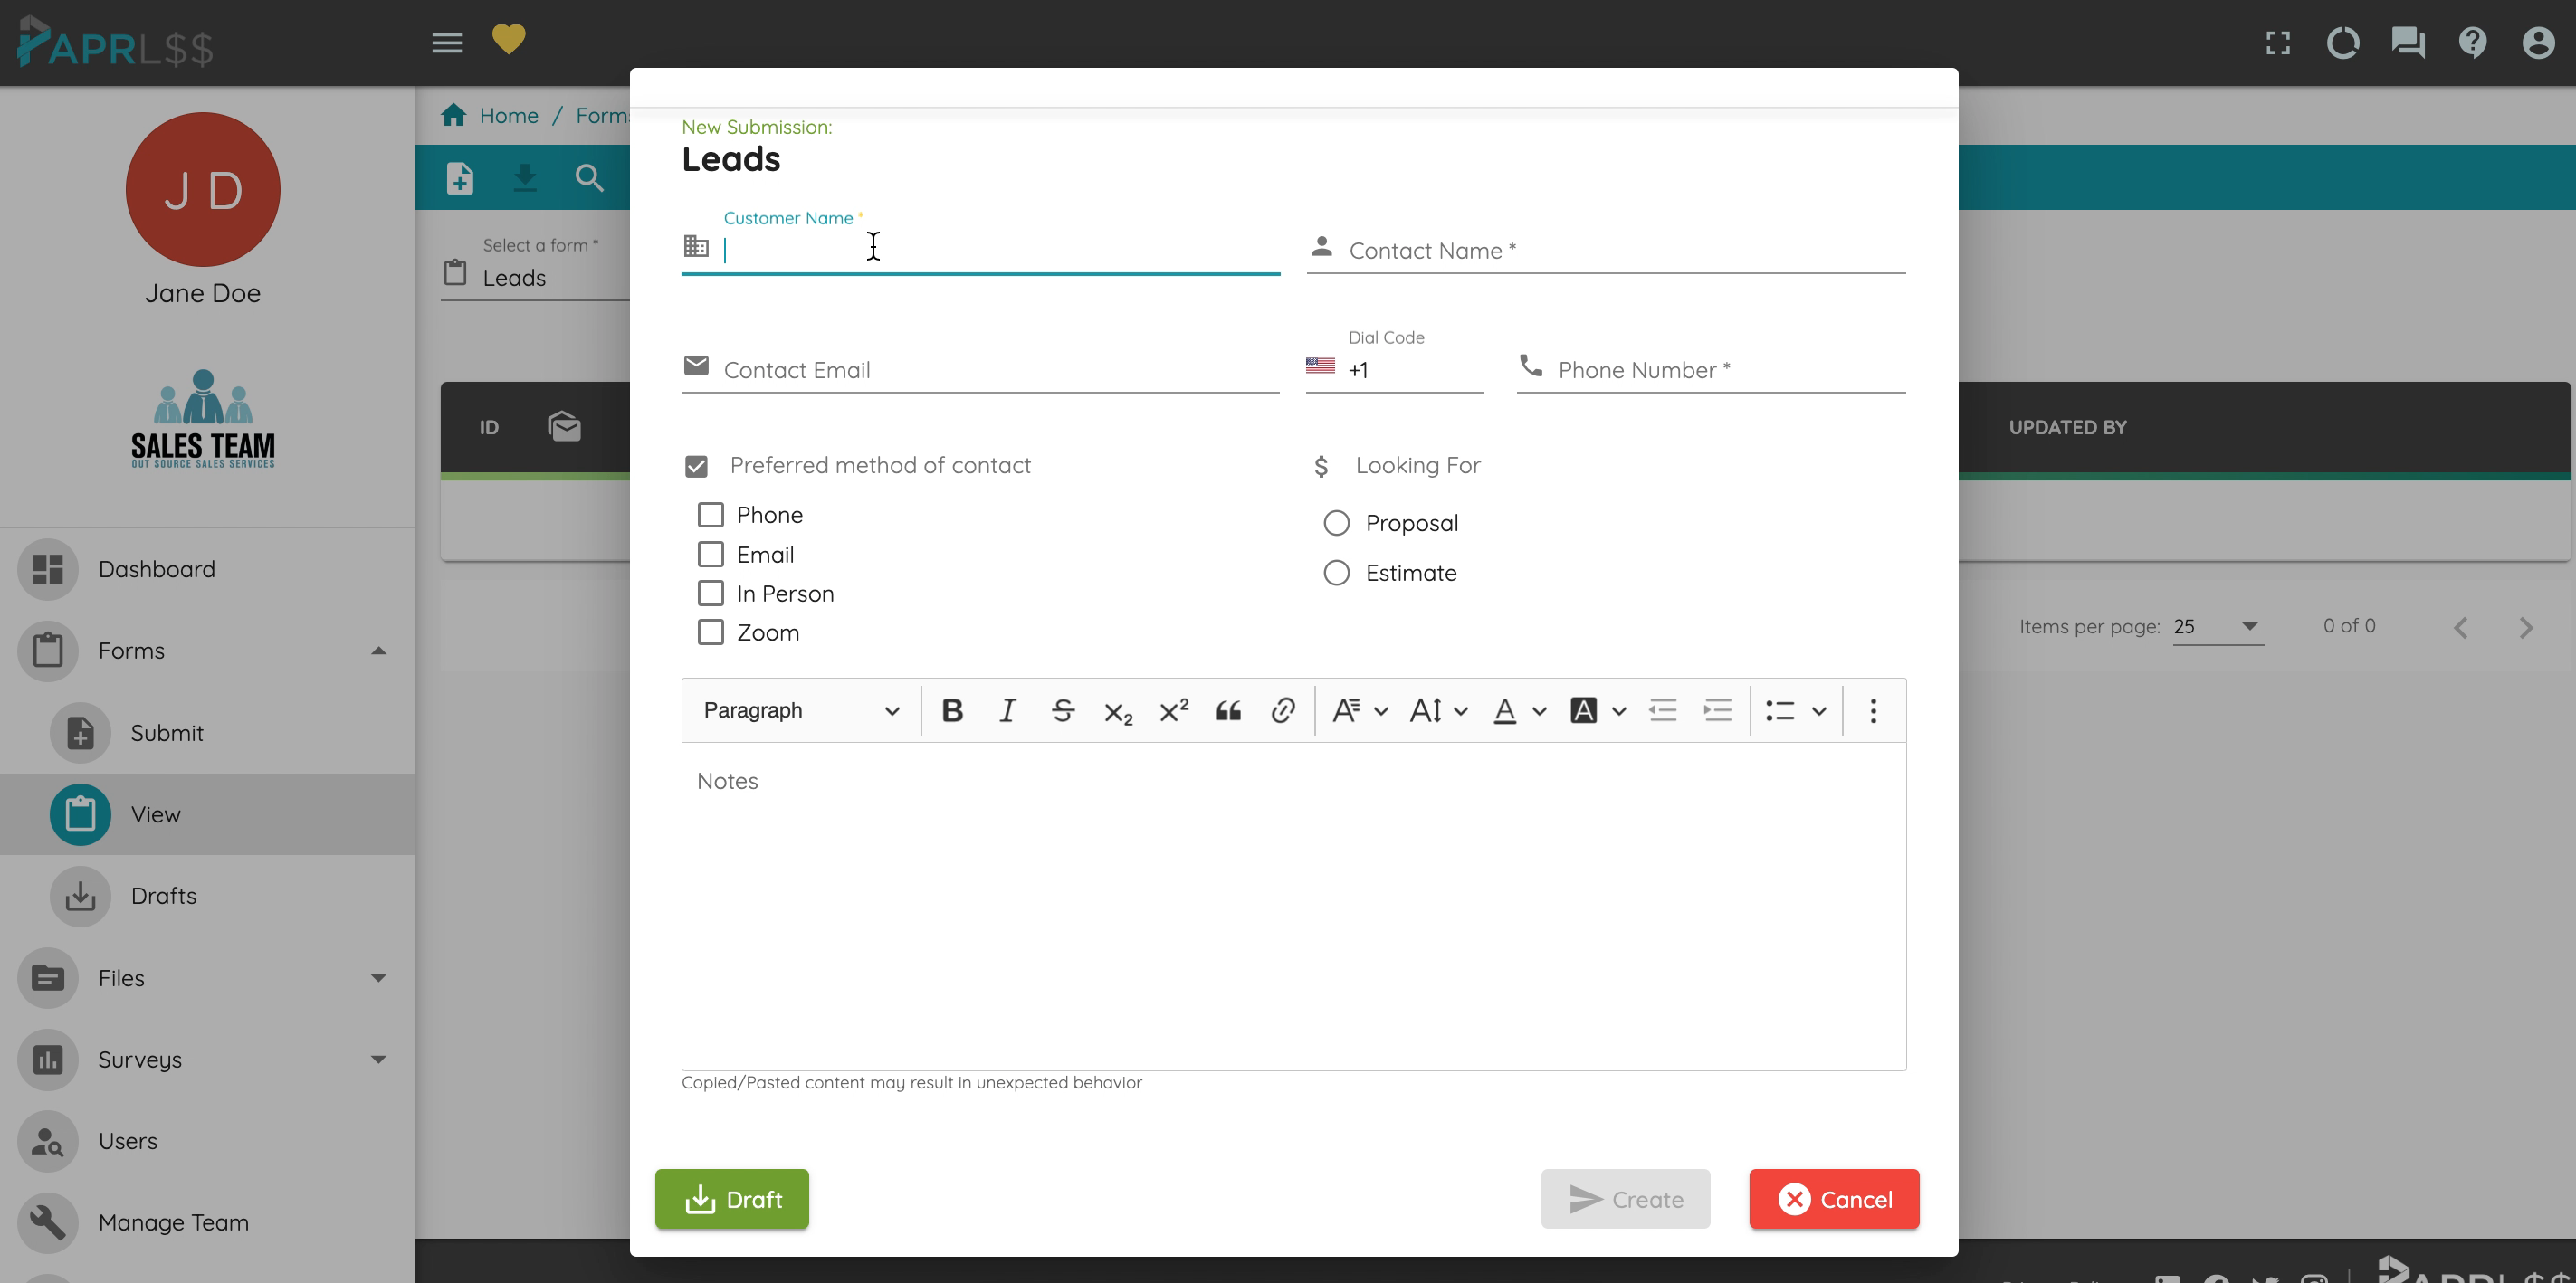
Complete the form accordingly.
Tip: Observe the difference between the checkbox and the radio fields. The checkbox allows for multiple answers, the radio only permits one.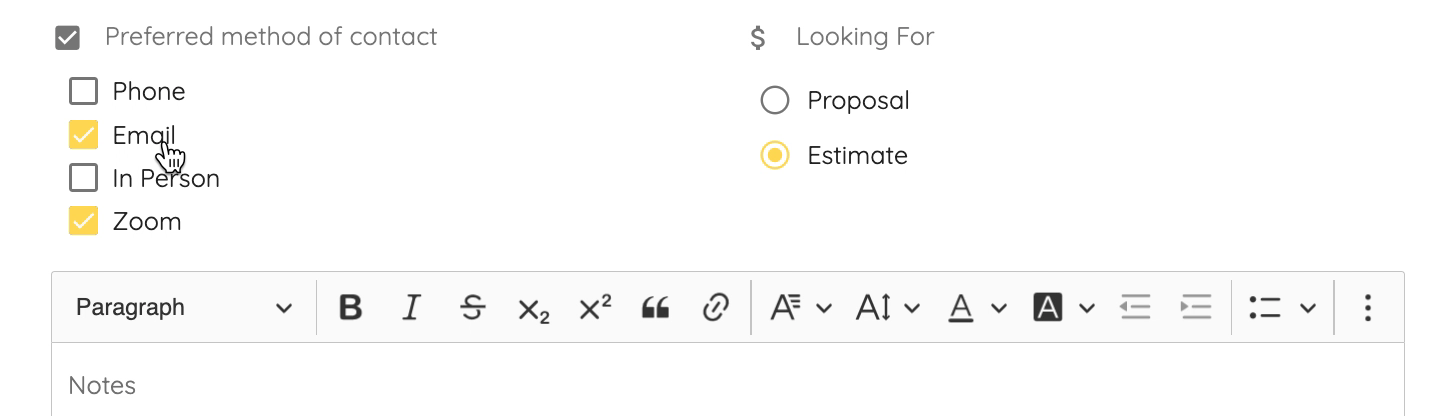
Once the form is complete and ready to be submitted click "Create" on the bottom right.
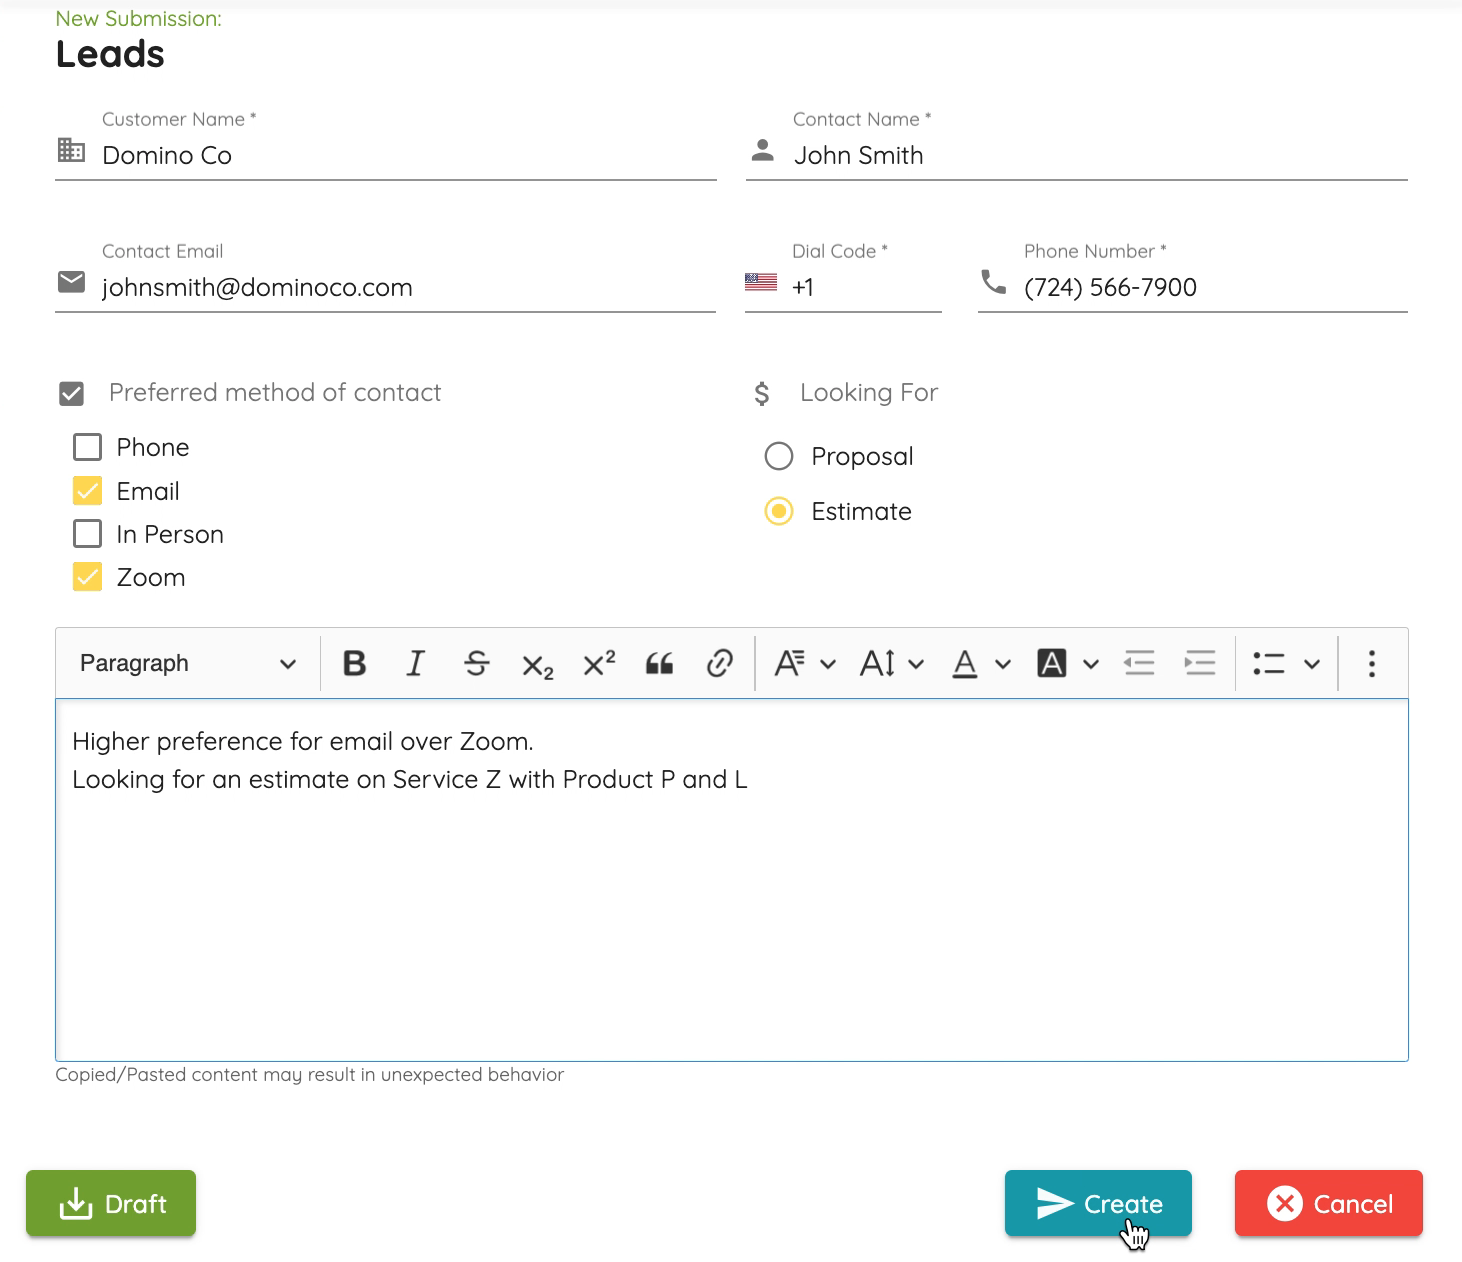
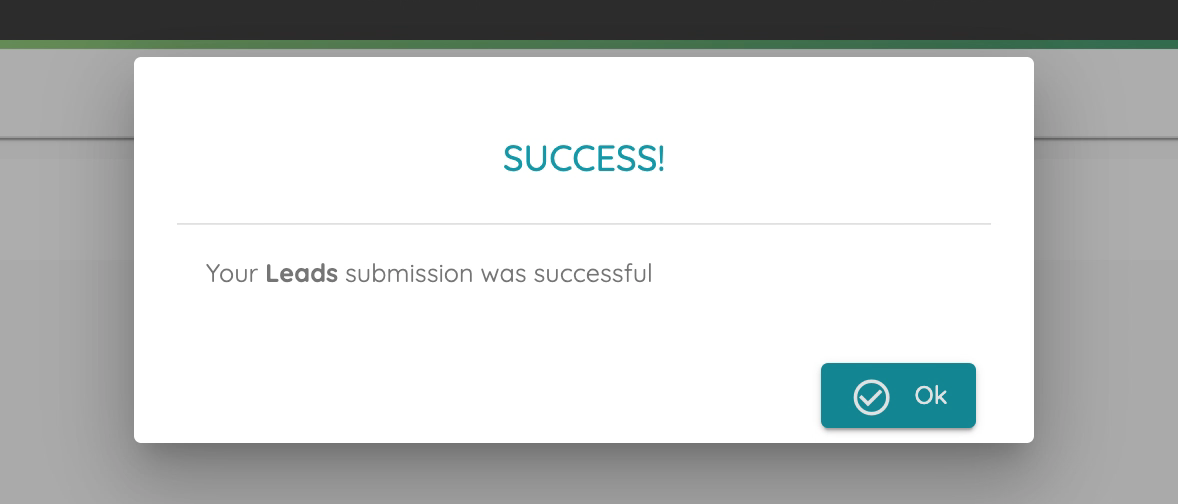
Success! The Leads form was submitted!
You will receive an email notifying you of this submission with a link to it if you turned on email notifications!